

I’d made some rather hasty repairs to the existing oak windows in the attic, but I decided to push my wood-working skills beyond their limits and try to construct a pair of Oak Framed Windows.

👉 Watch the full video: ▶️Broke and Framed
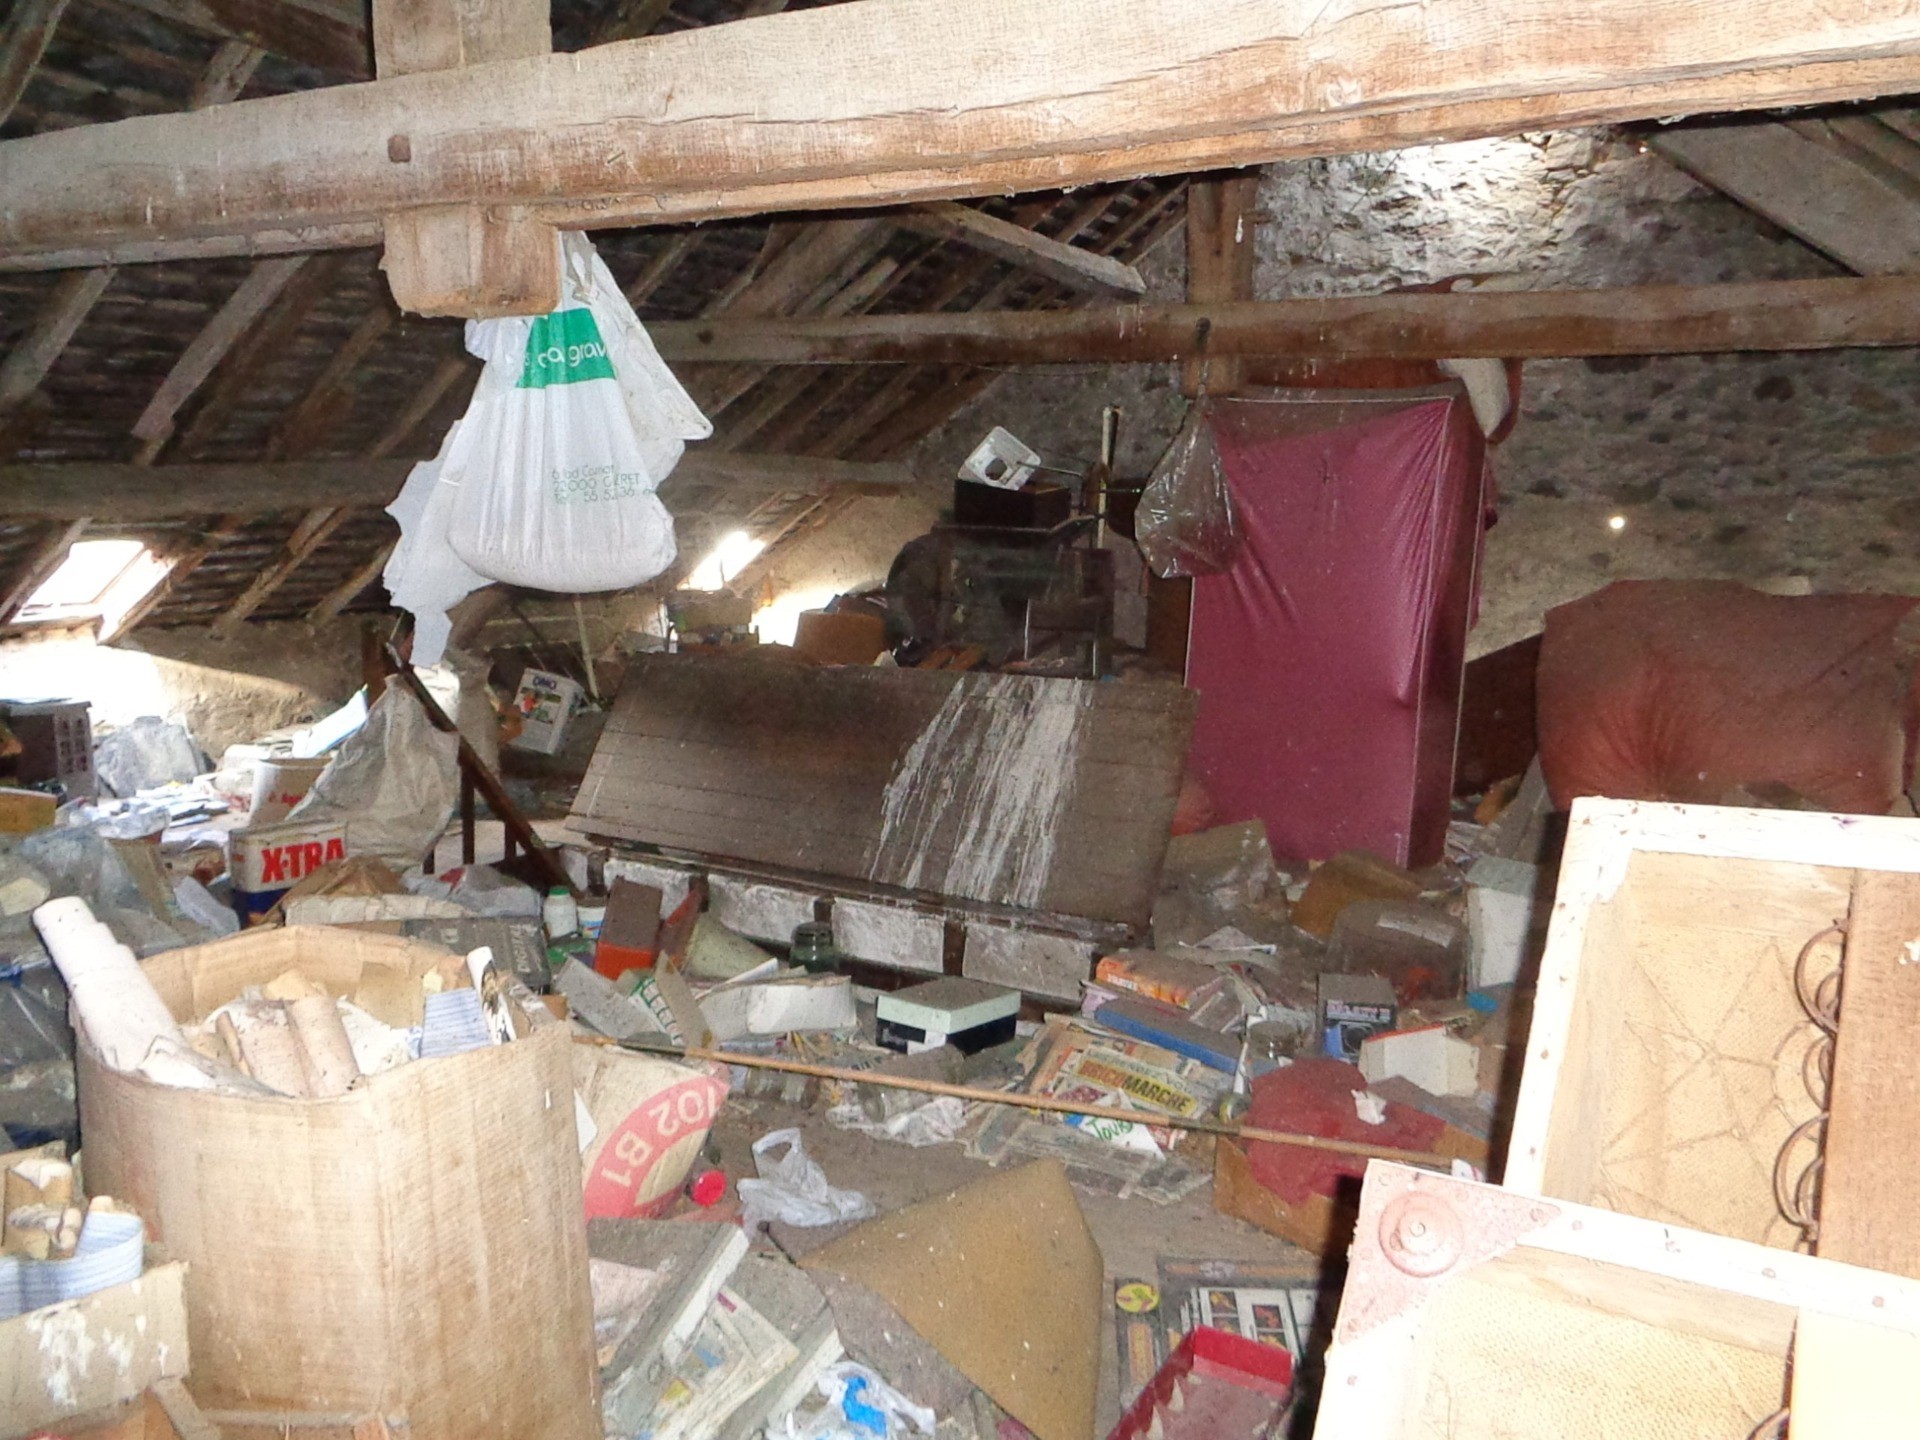
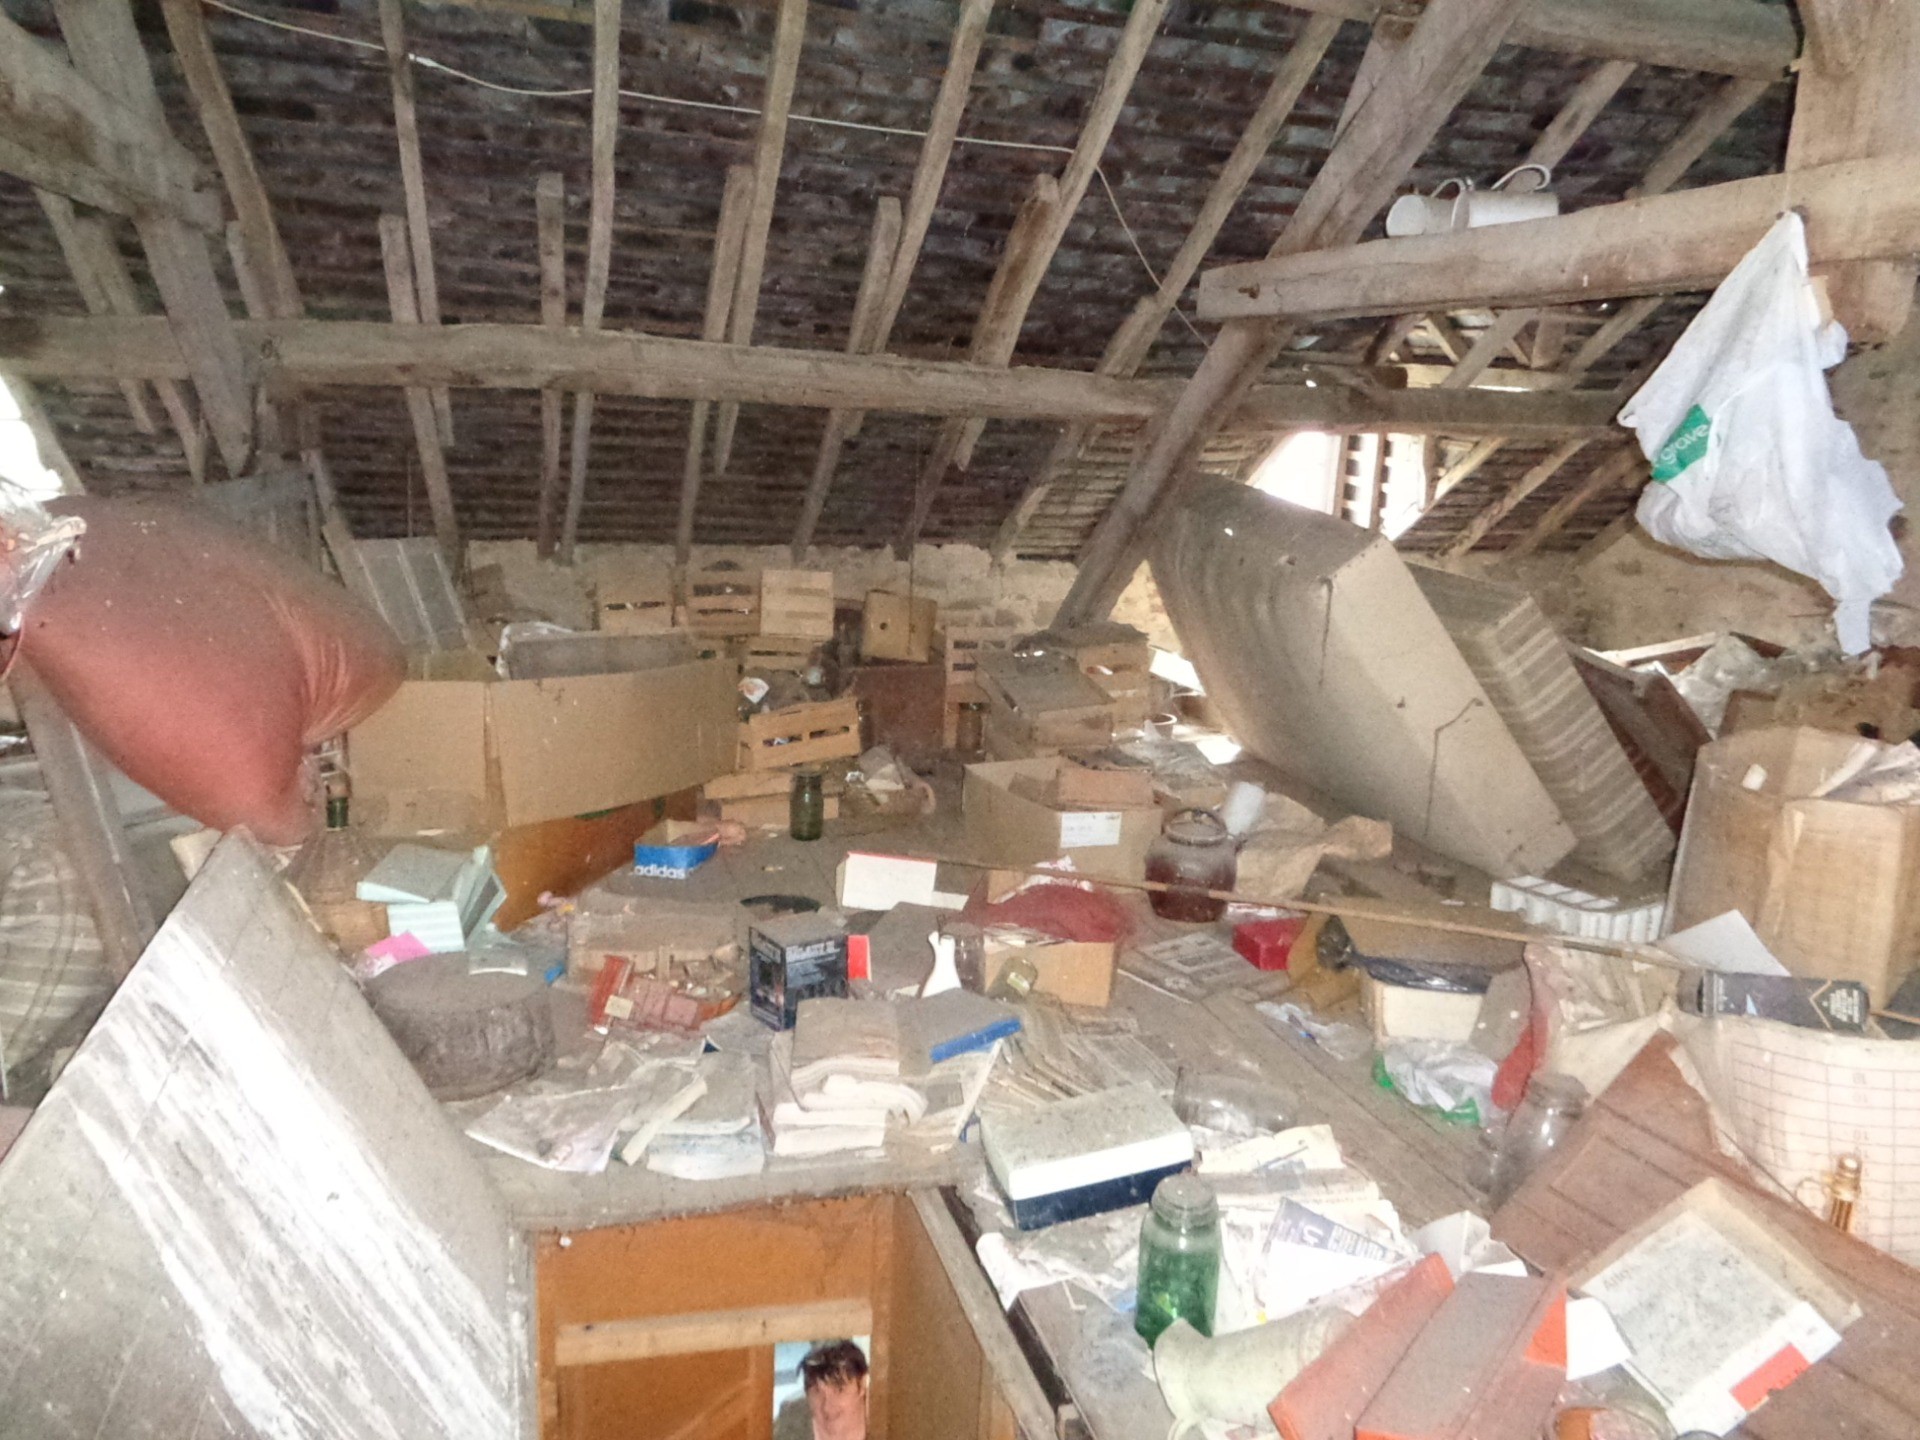
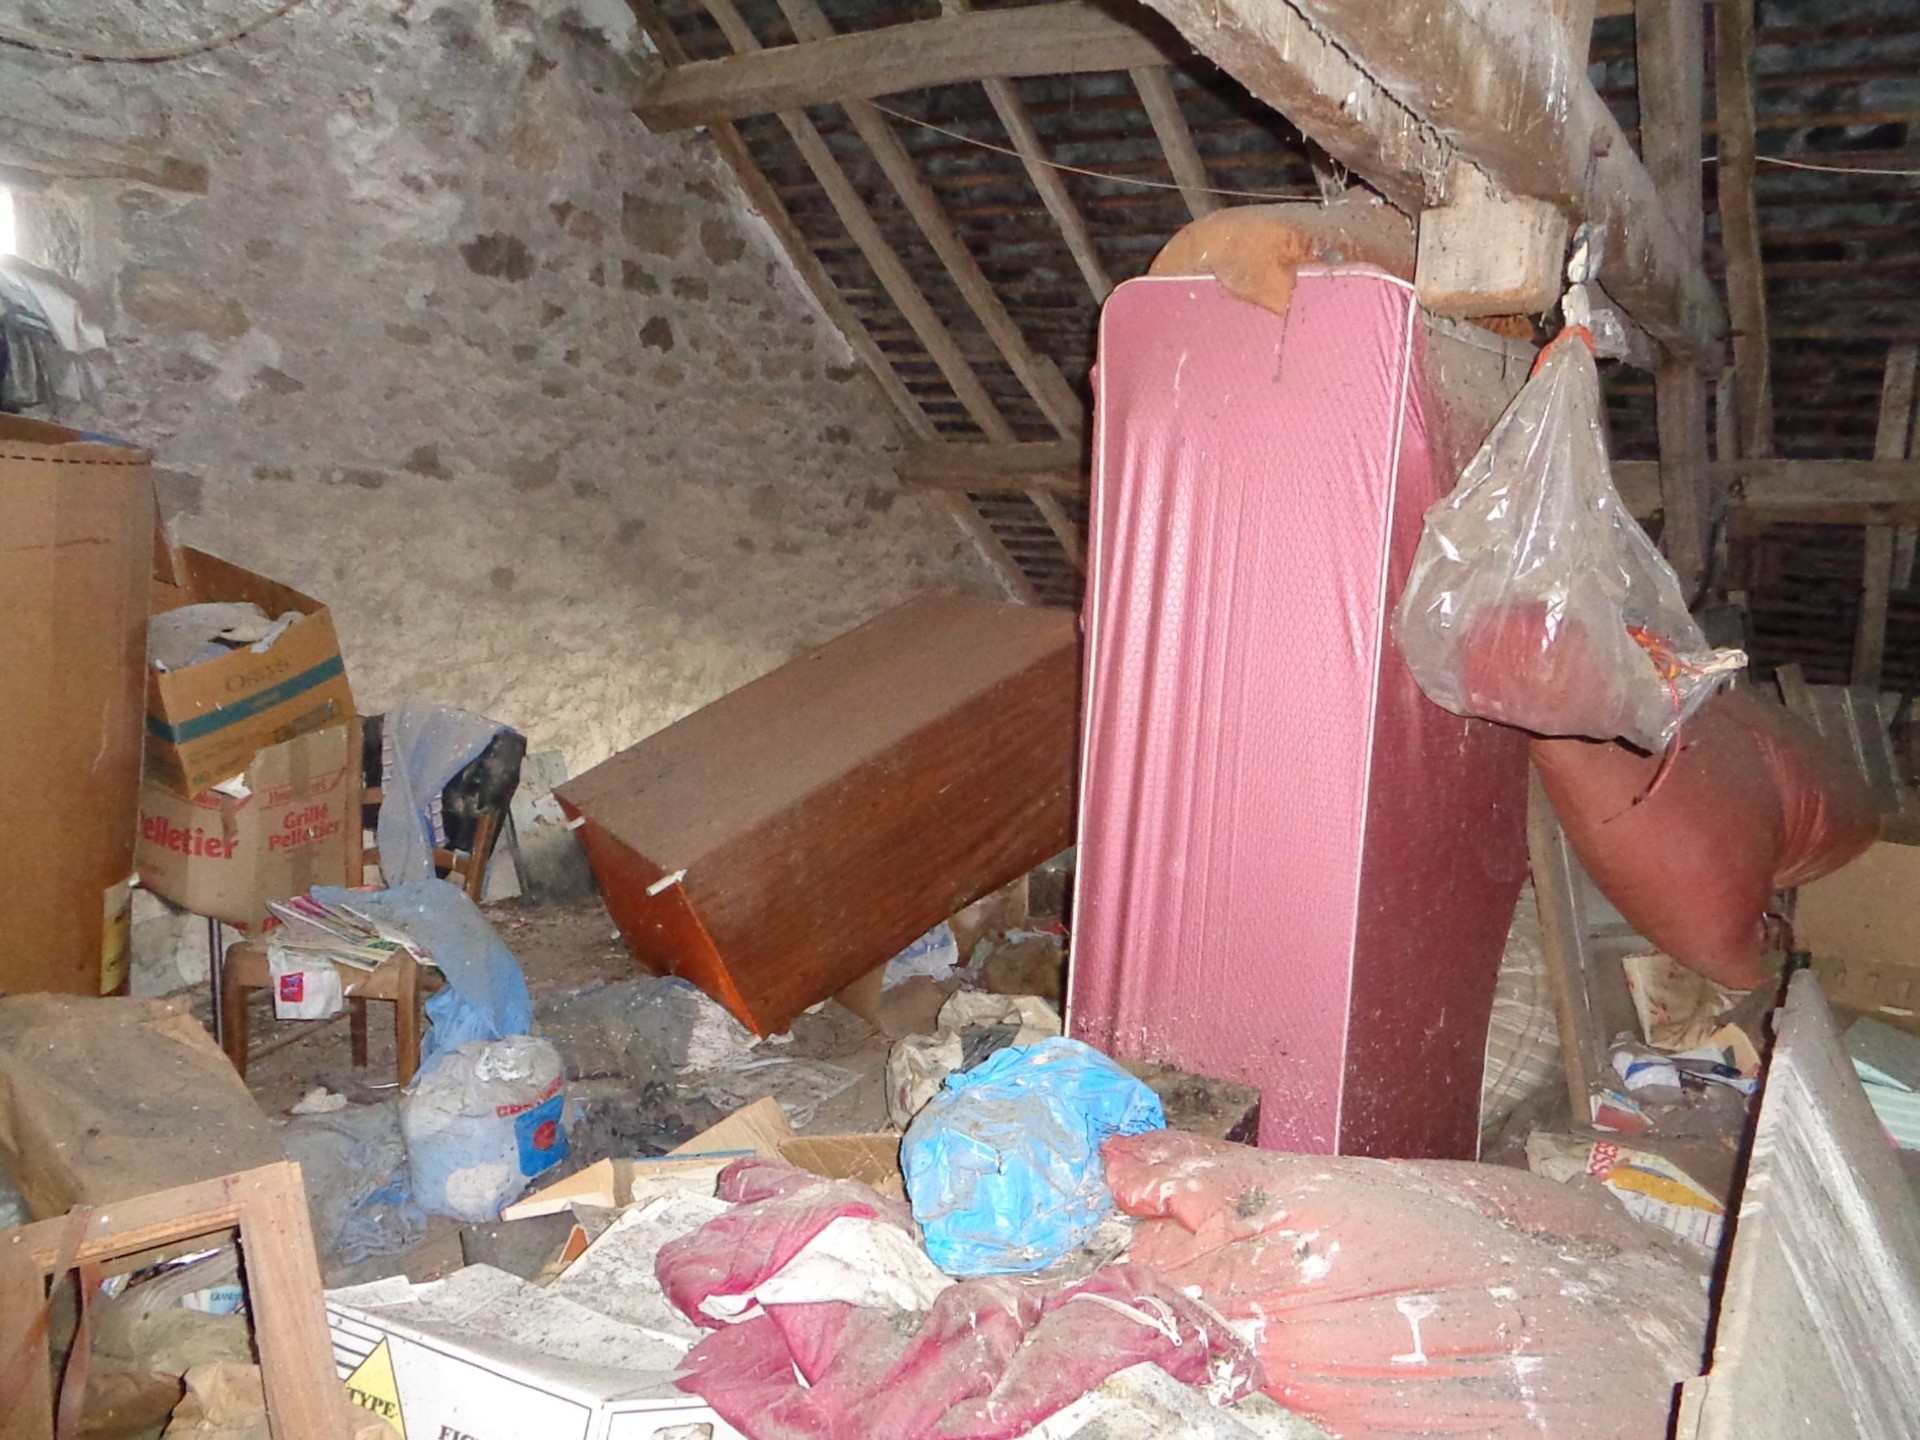
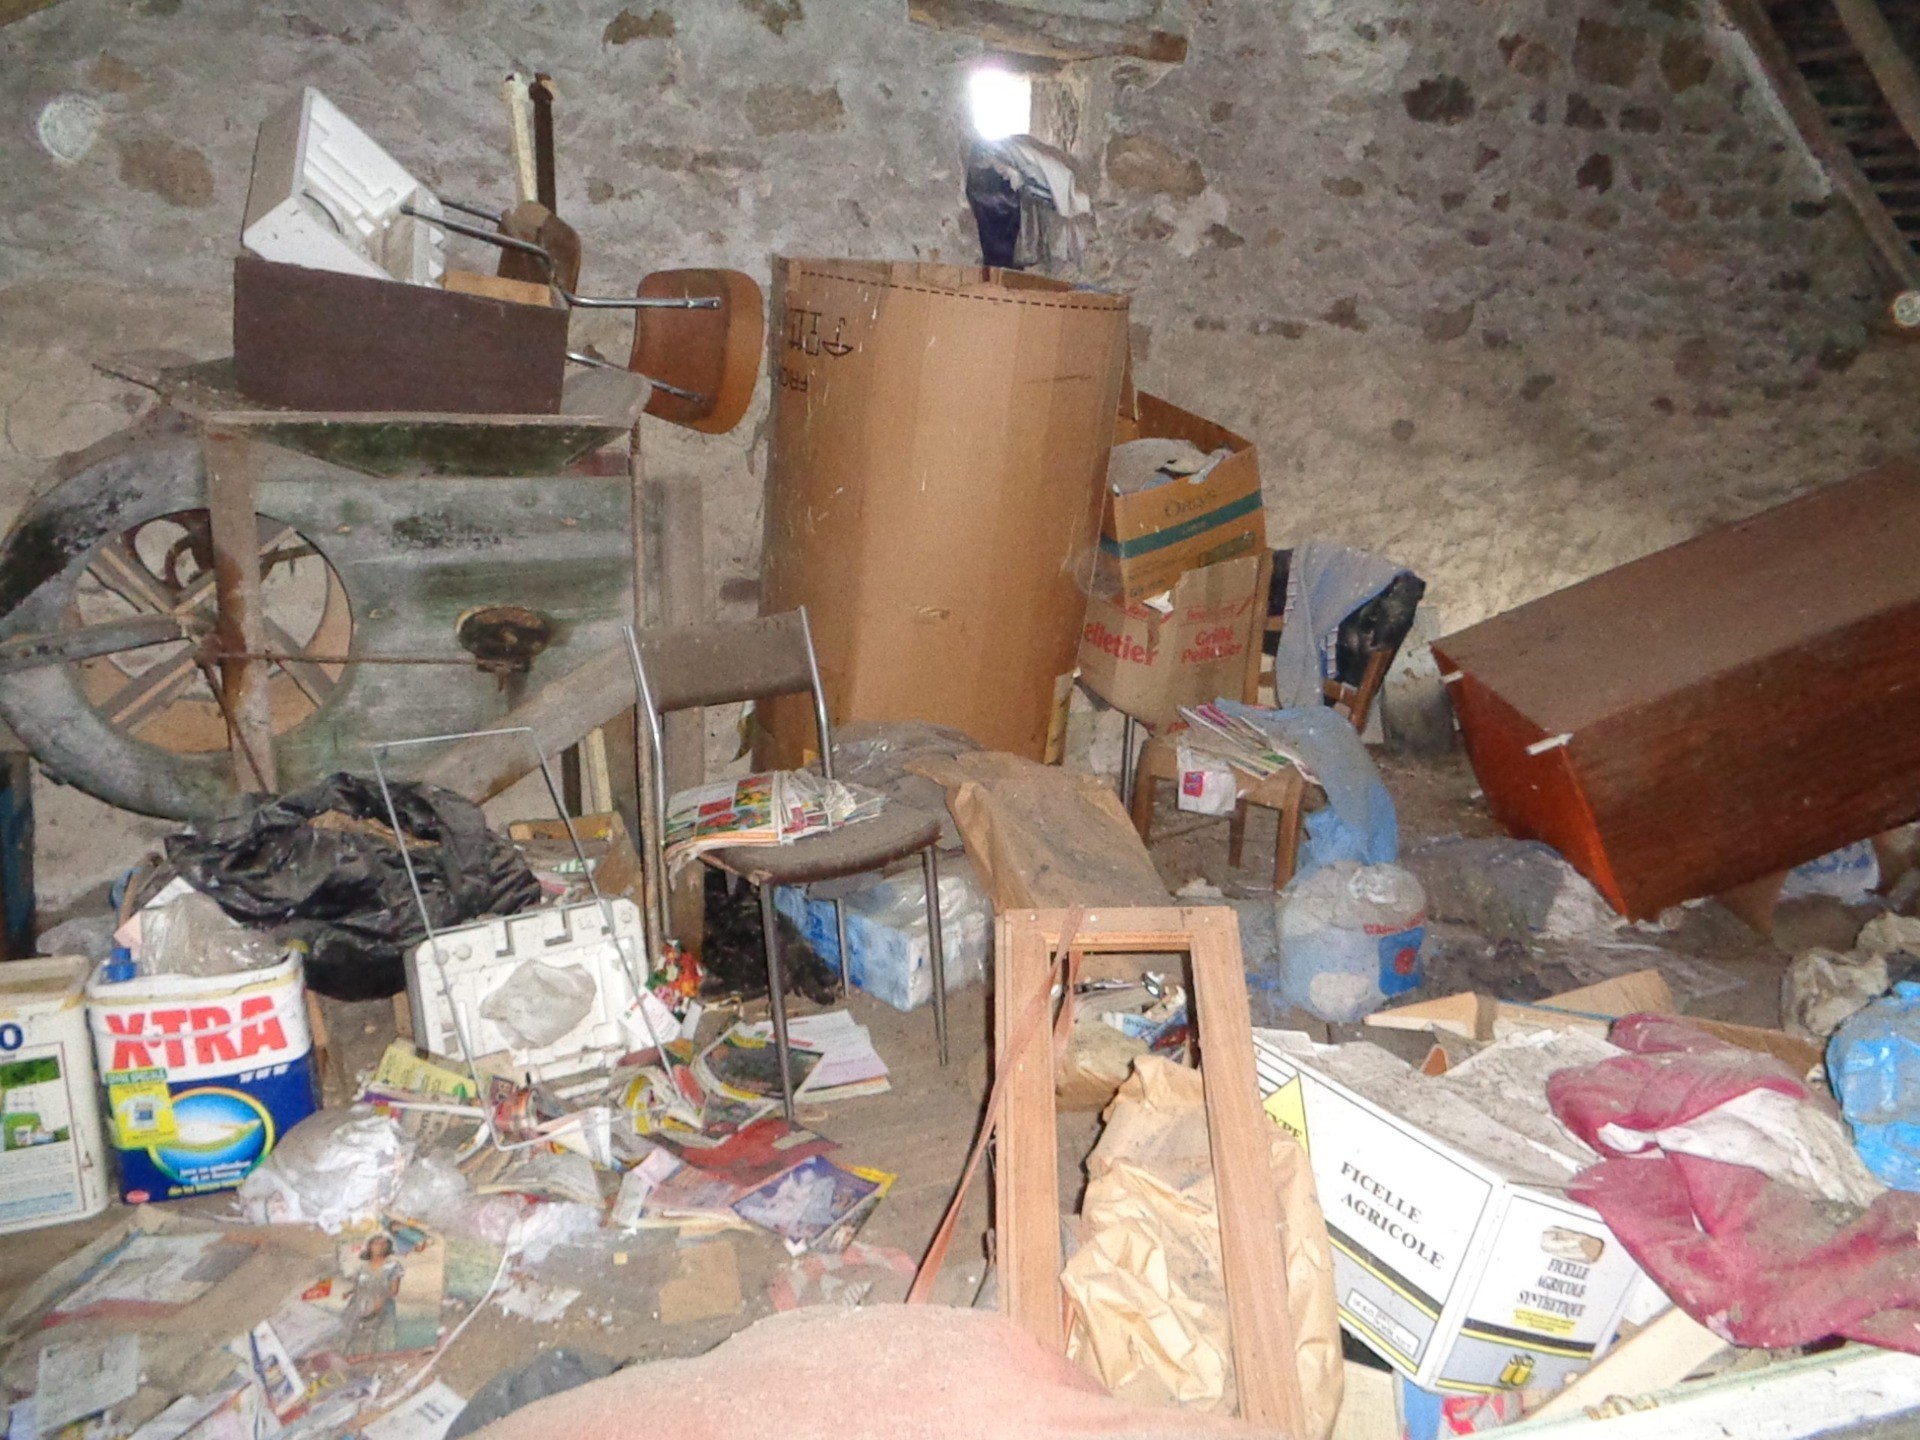
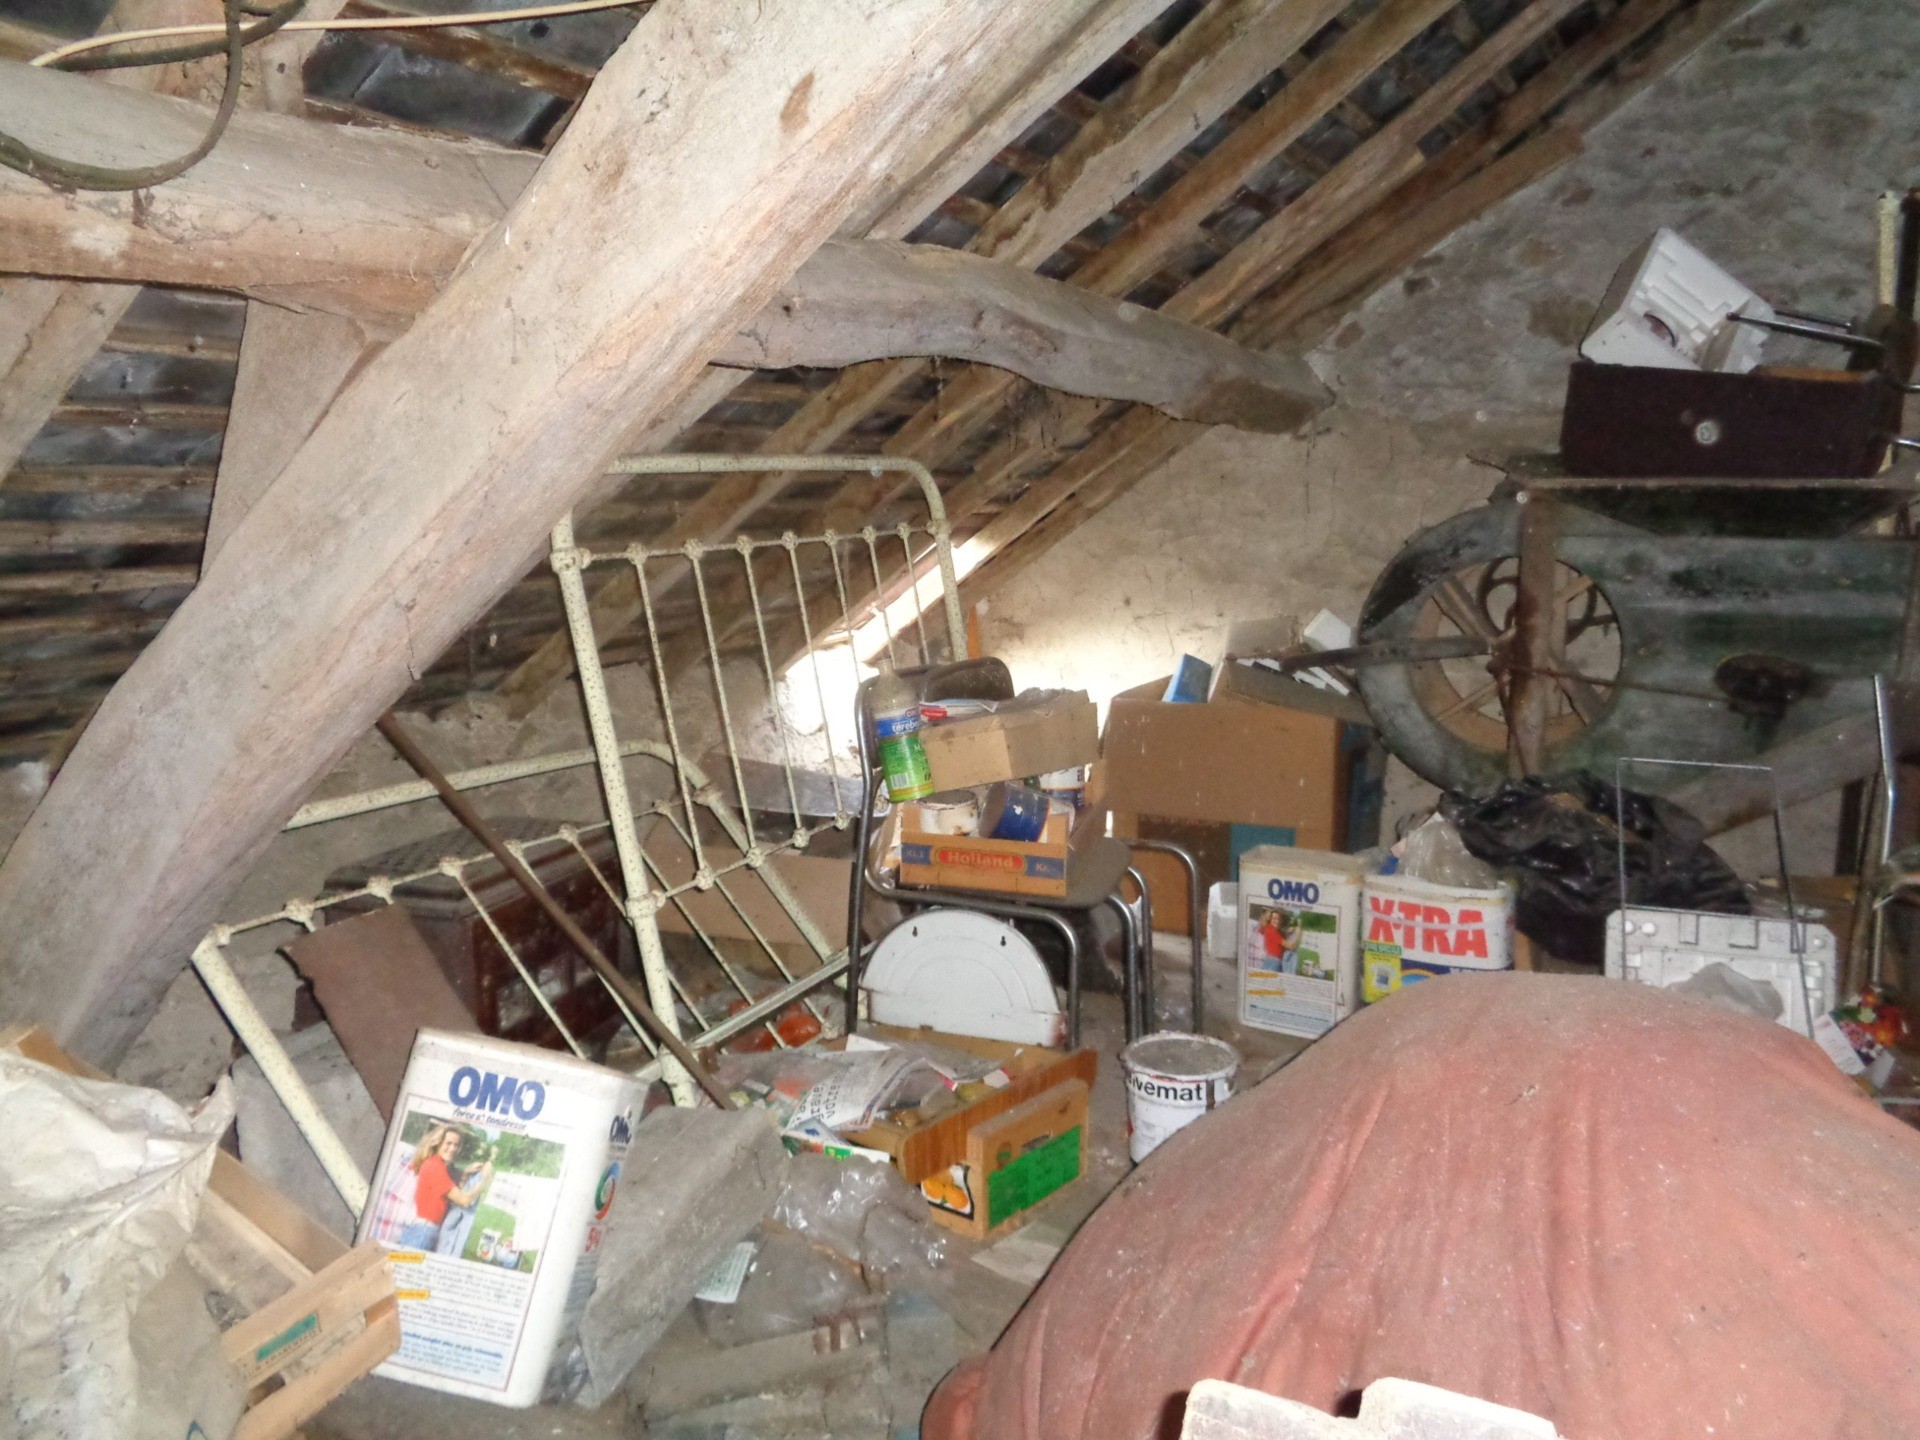
Attic full of Junk
When we first viewed the house, the attic was impenetrable. There was so much detritus you couldn’t see the floorboards or more more than a couple of inches from the top of the stairs. Apart from a quick inspection of the nearby beams we had no idea of the condition of the roof.
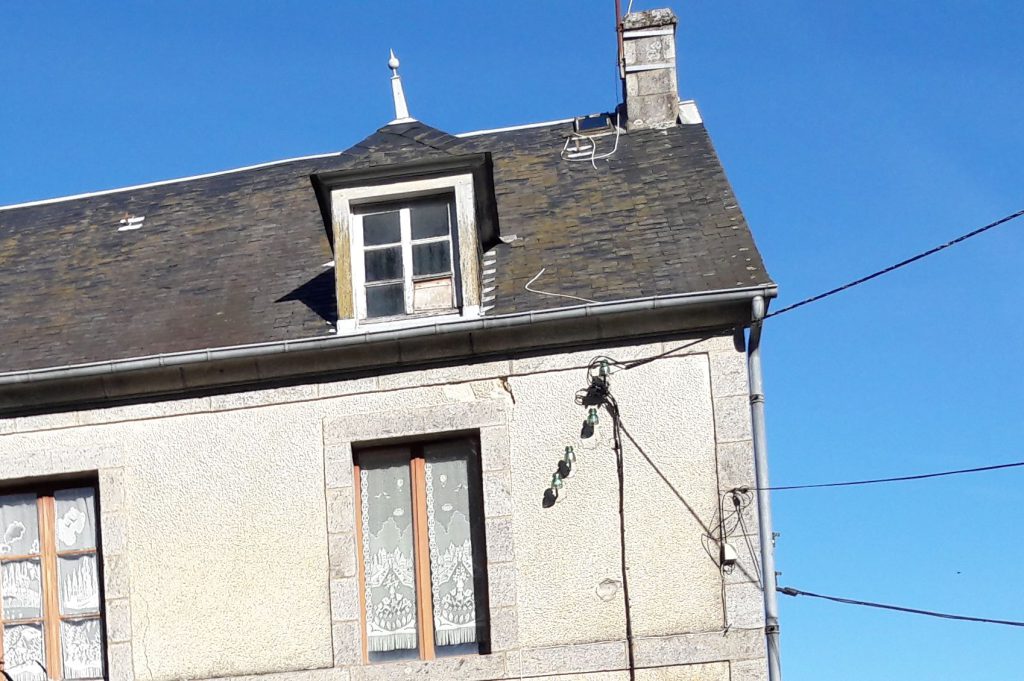
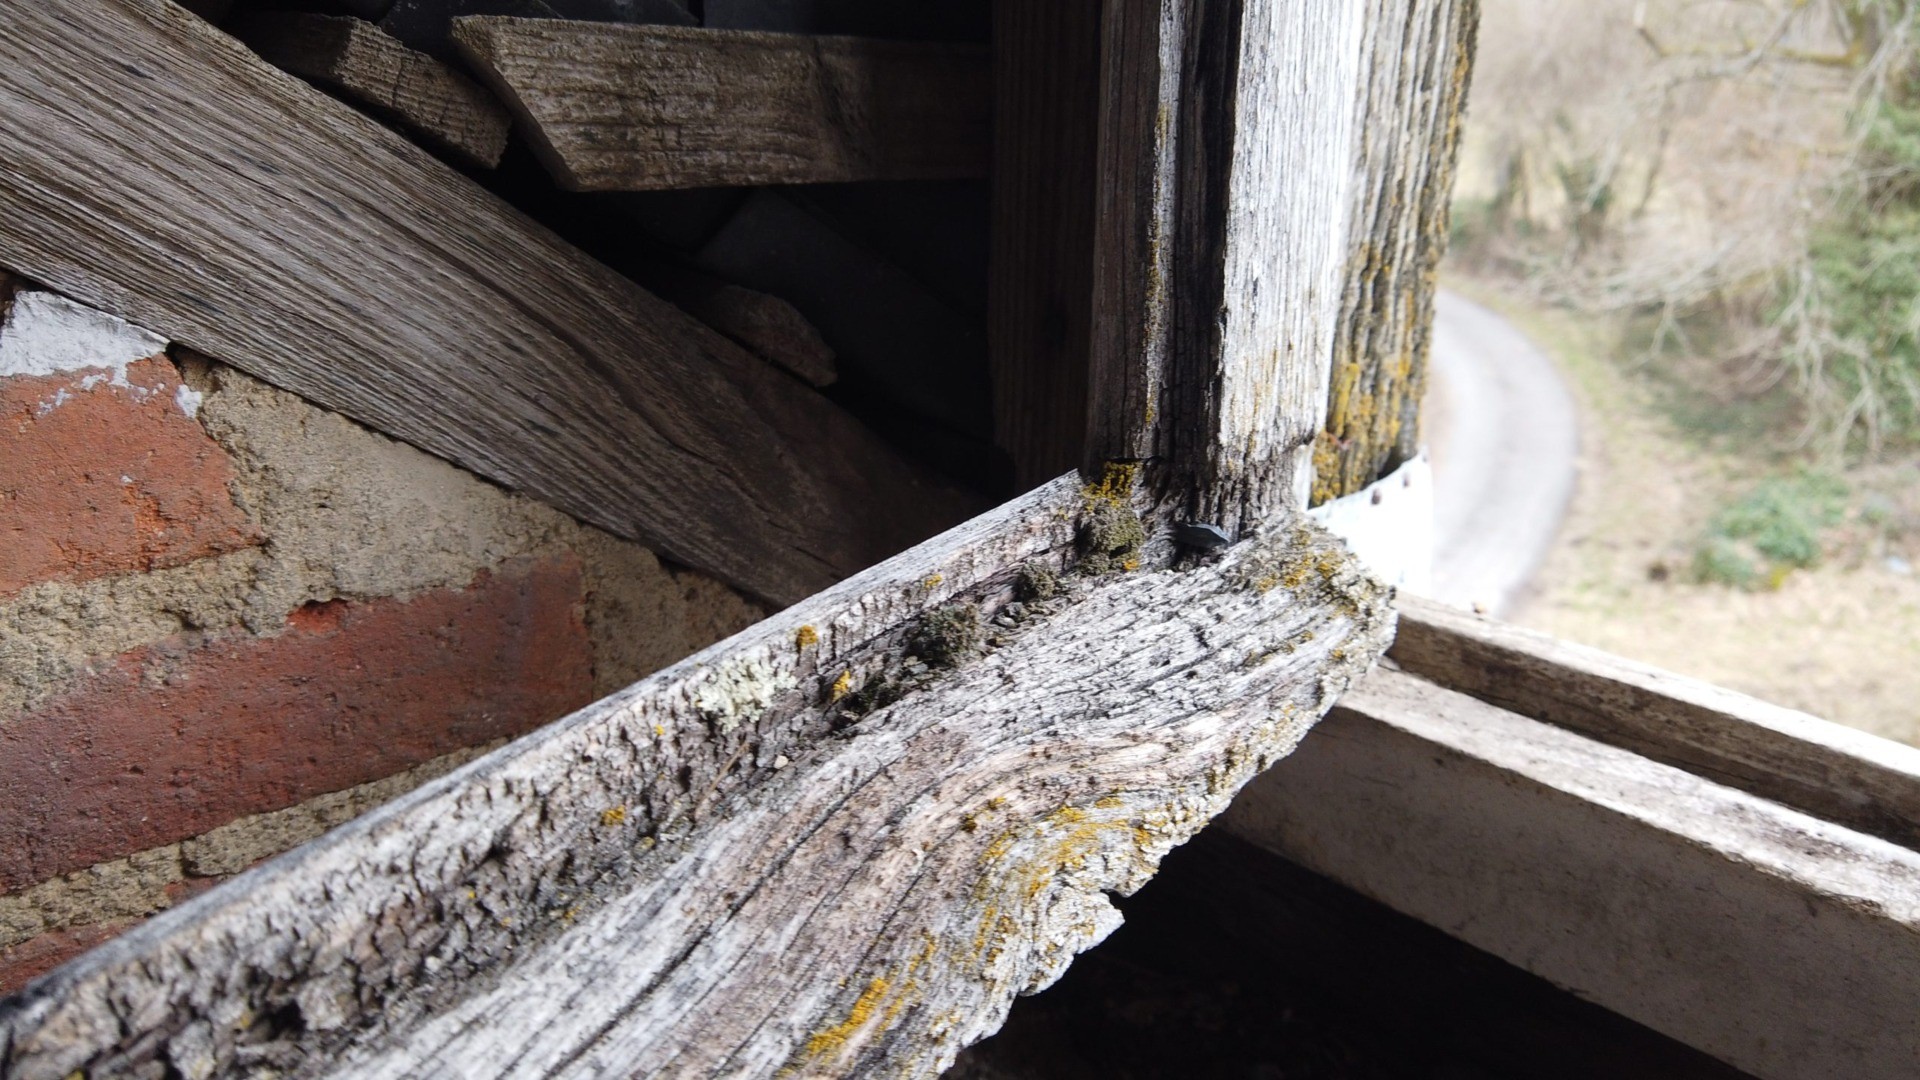
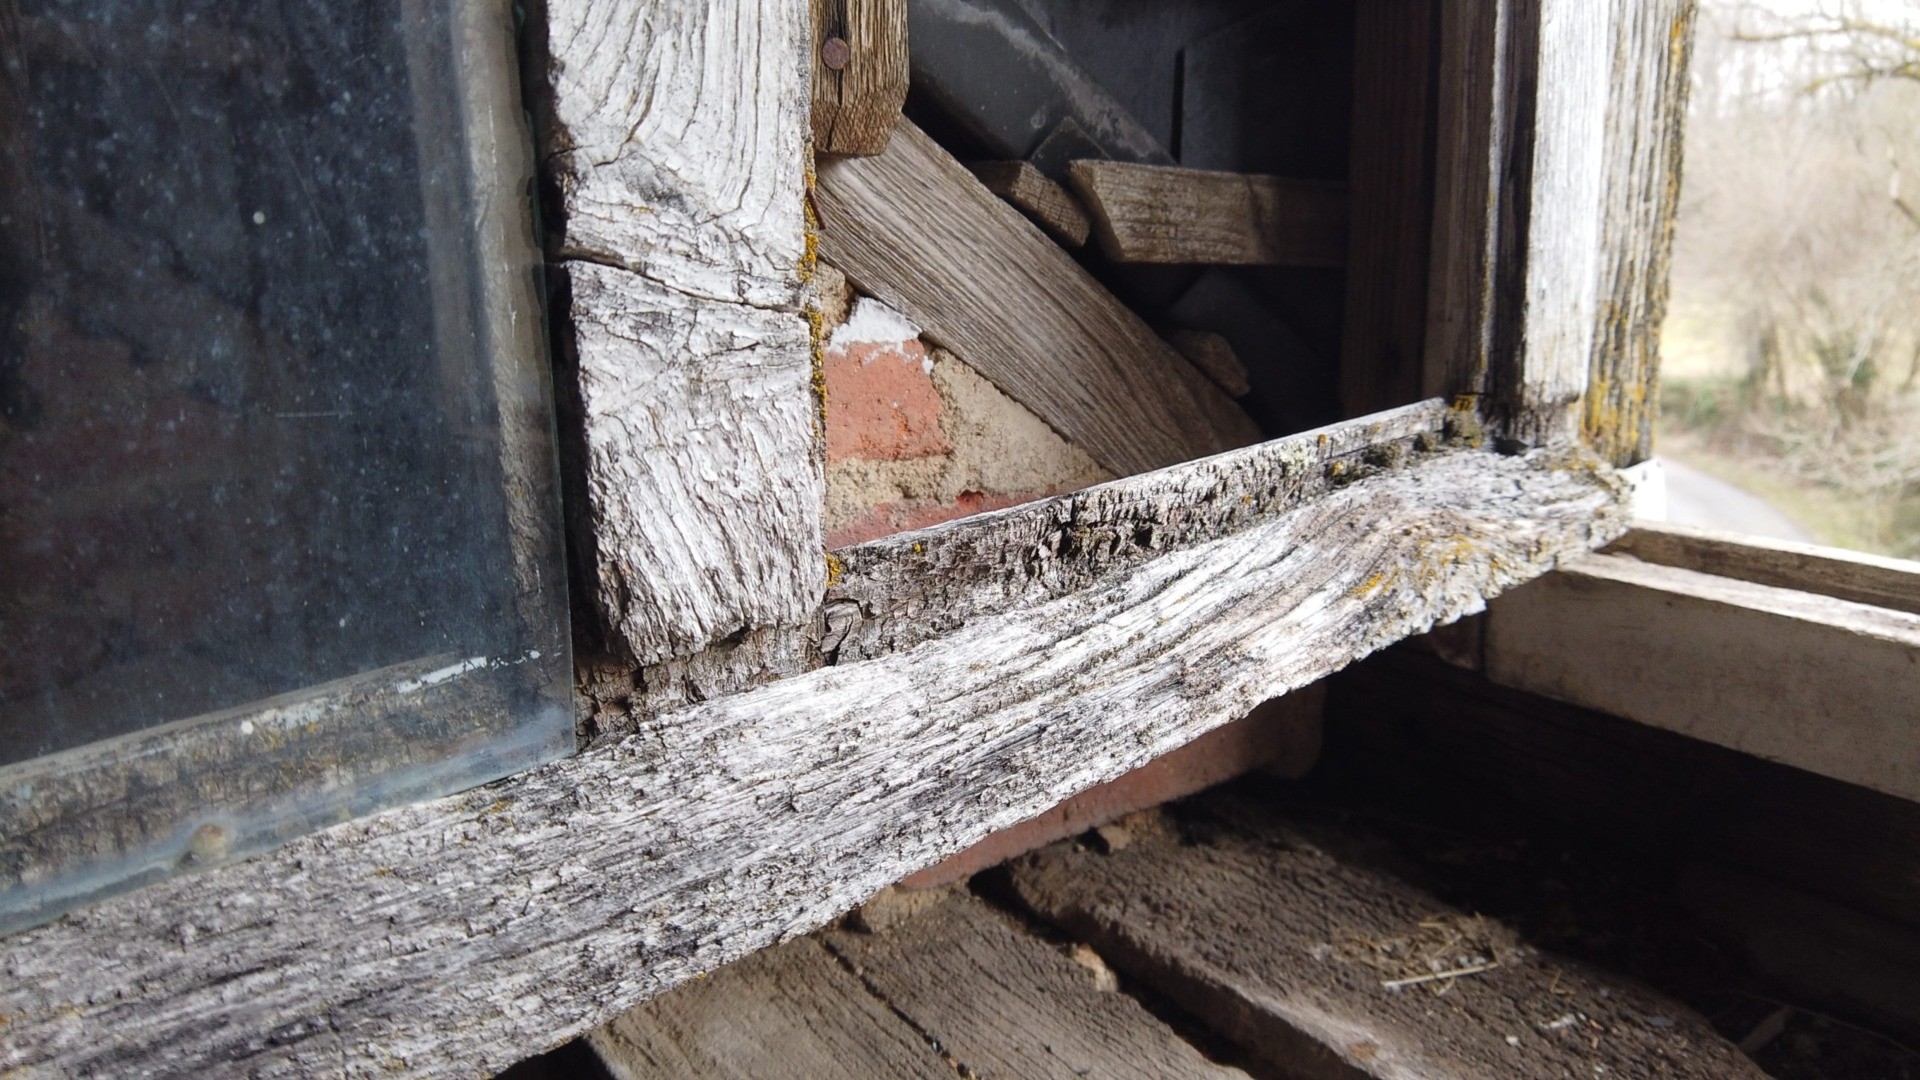
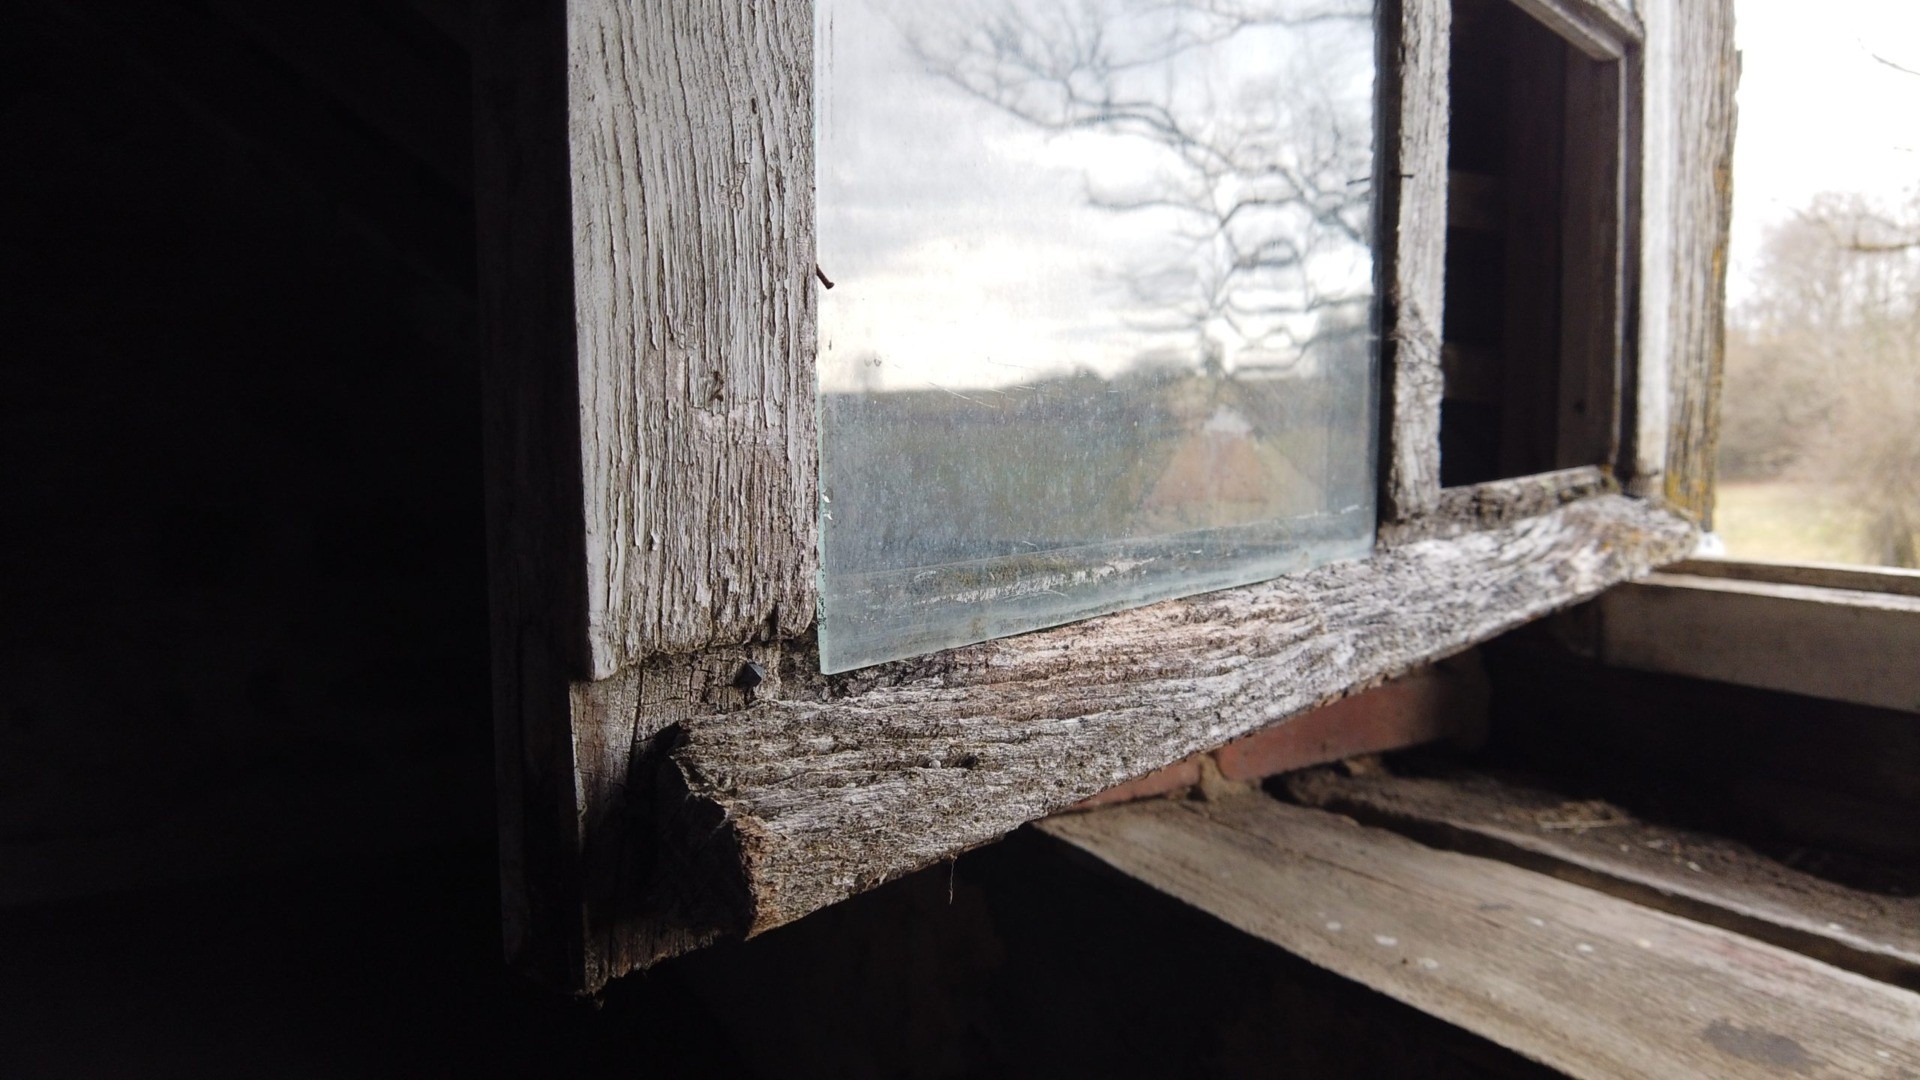
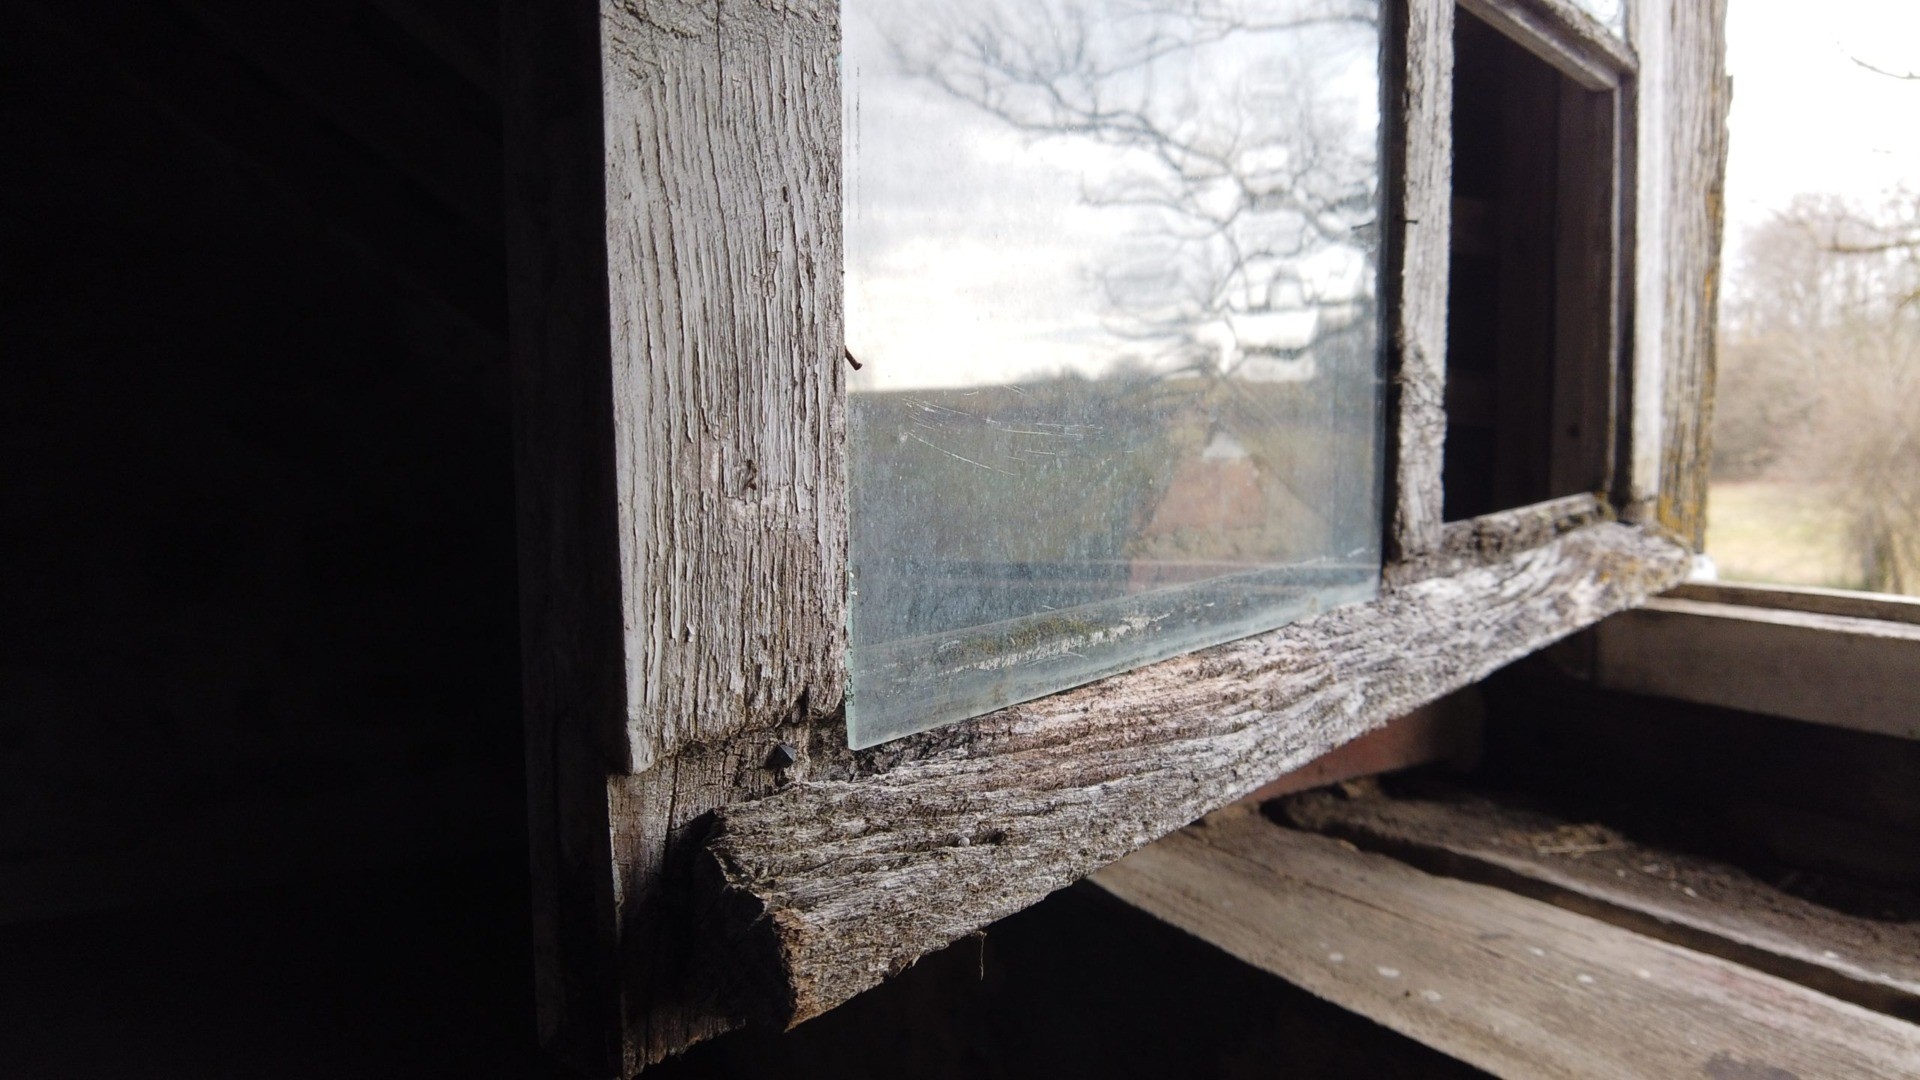
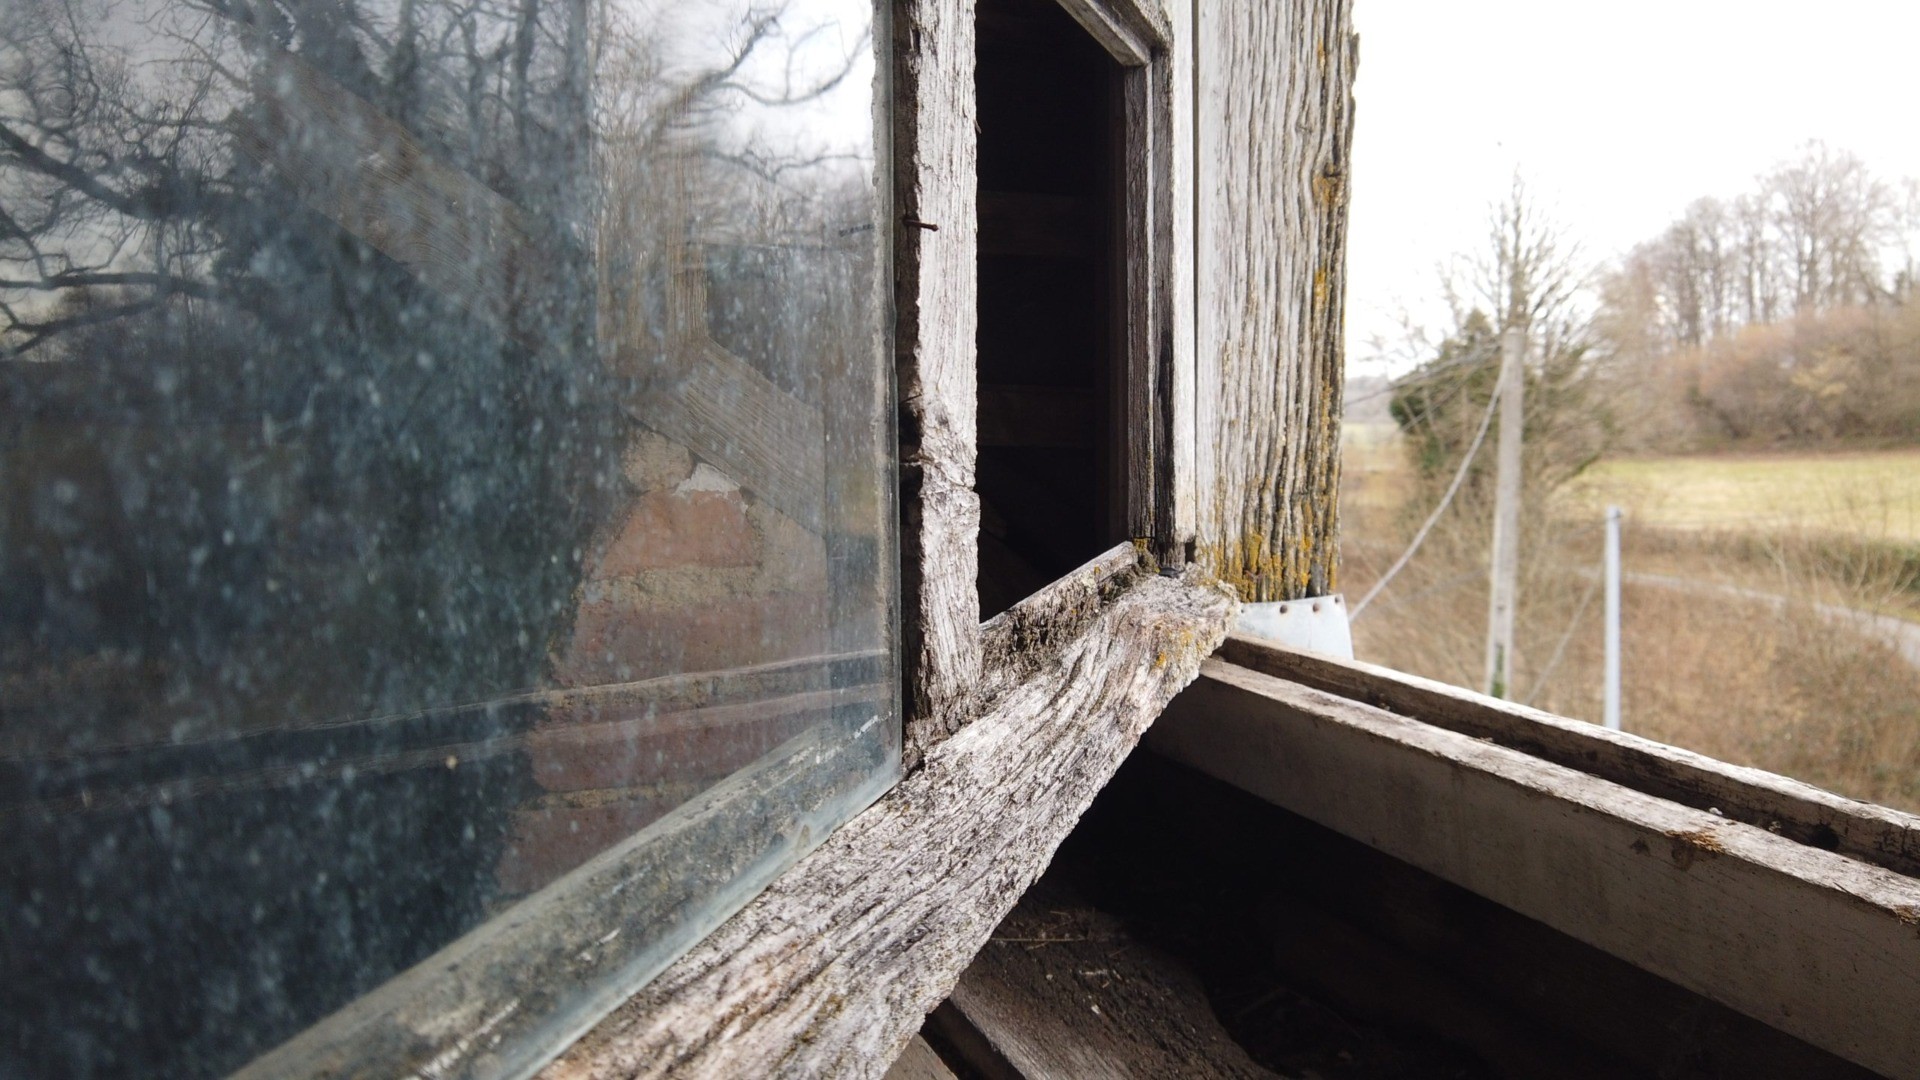
Once the clutter was cleared we could get to the windows. They were on their last legs. The existing windows were rotten. Panes of glass had fallen over 20 years ago letting the wood rot away. The timber had been unprotected probably for 50 years as there were few signs of paint.
Although I have done a fair bit of metalwork, woodwork isn’t a strong point. I’ve been gathering tools when they come up cheap, but essentially I was jumping in at the deep end head first. Apart from helping my wife build a shed, this is my first real project.
We went to a local lumber yard with our dimensions. They had some lovely oak; it was aged 5 years and sawn so perfectly it looked almost wax polished. The oak did look exquisite, without a single flaw. Unfortunately, it came at a hefty premium. The two small attic windows would cost over £1,400 in premium oak alone. We needed to explore other options.
We found a couple of pieces on Facebook Marketplace that were reclaimed from a Sussex pub built in the 1930’s. They were very heavy, but contained numerous rusty nails that were incredibly hard to remove. You could see they had been hand sawn, probably with a large bow saw. The moisture content was measured at 7.2%. These pieces were 1/3rd the price of new timber.
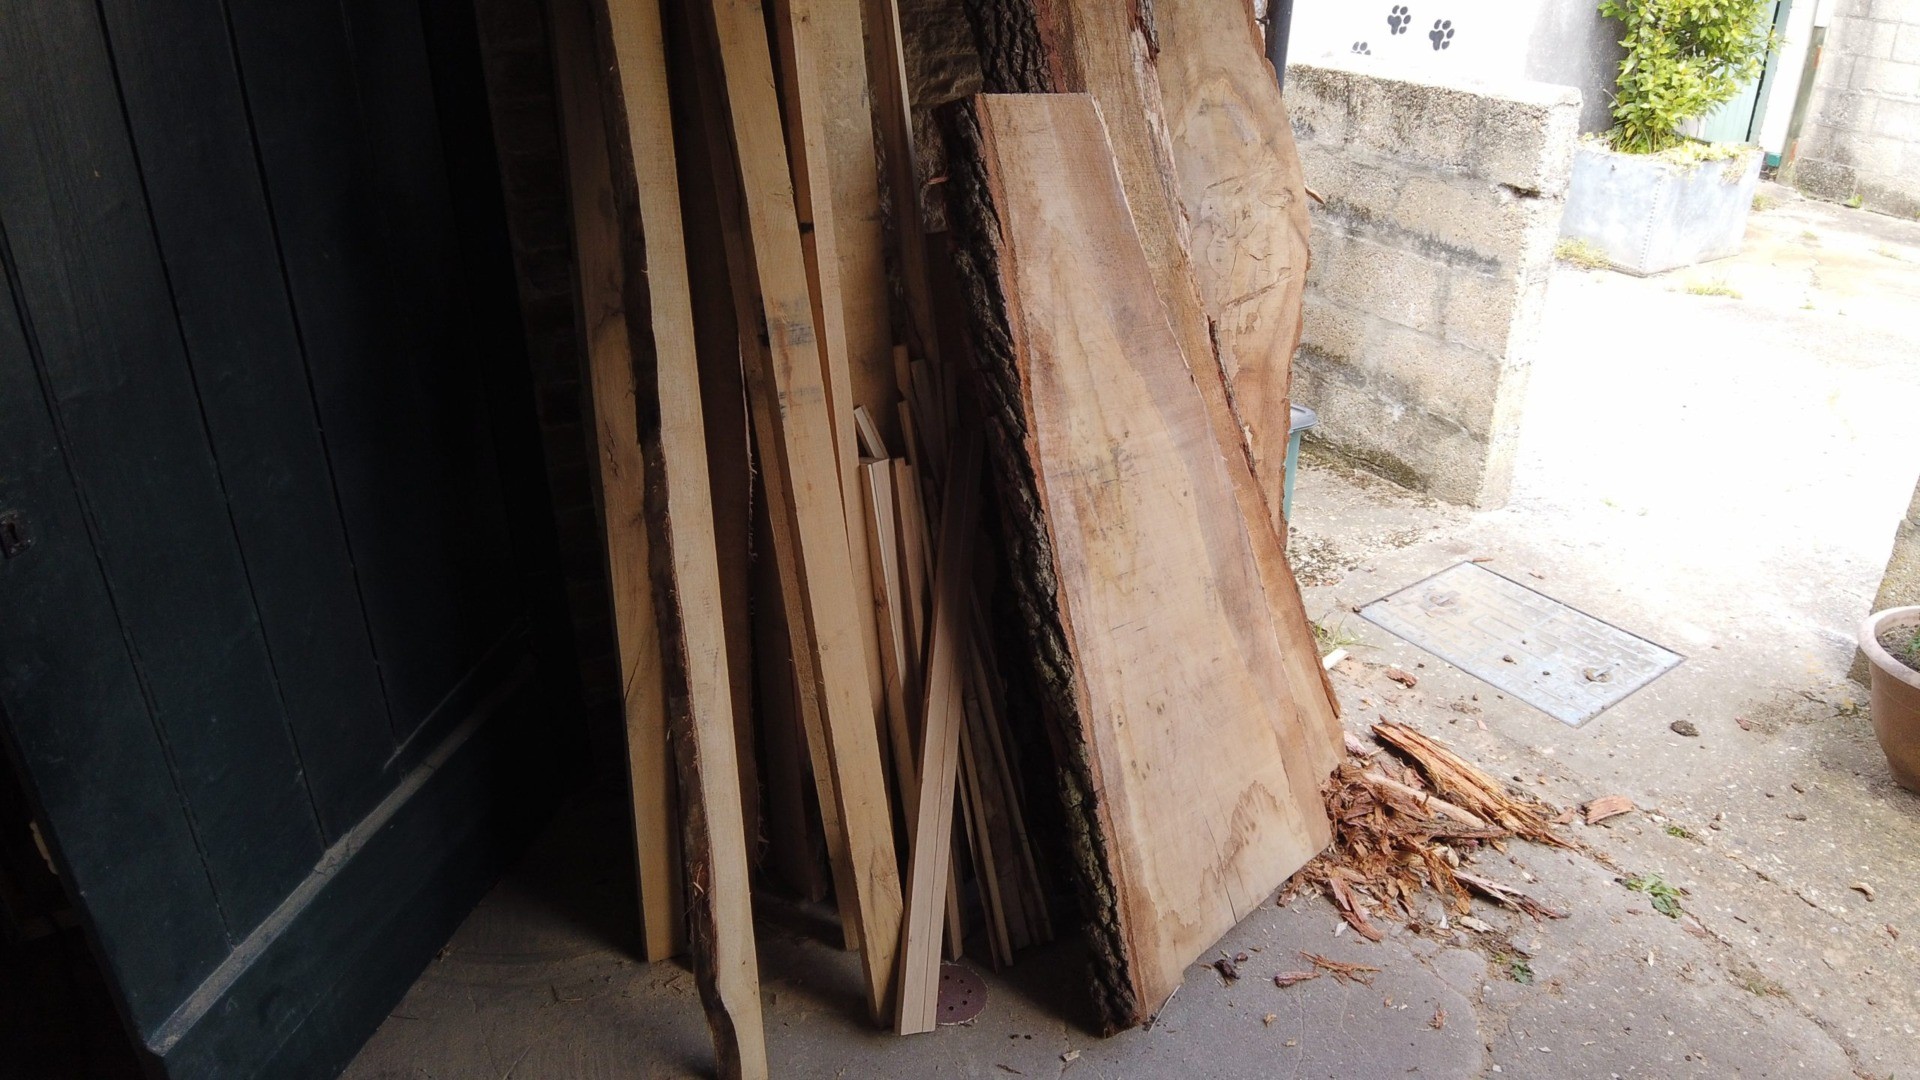
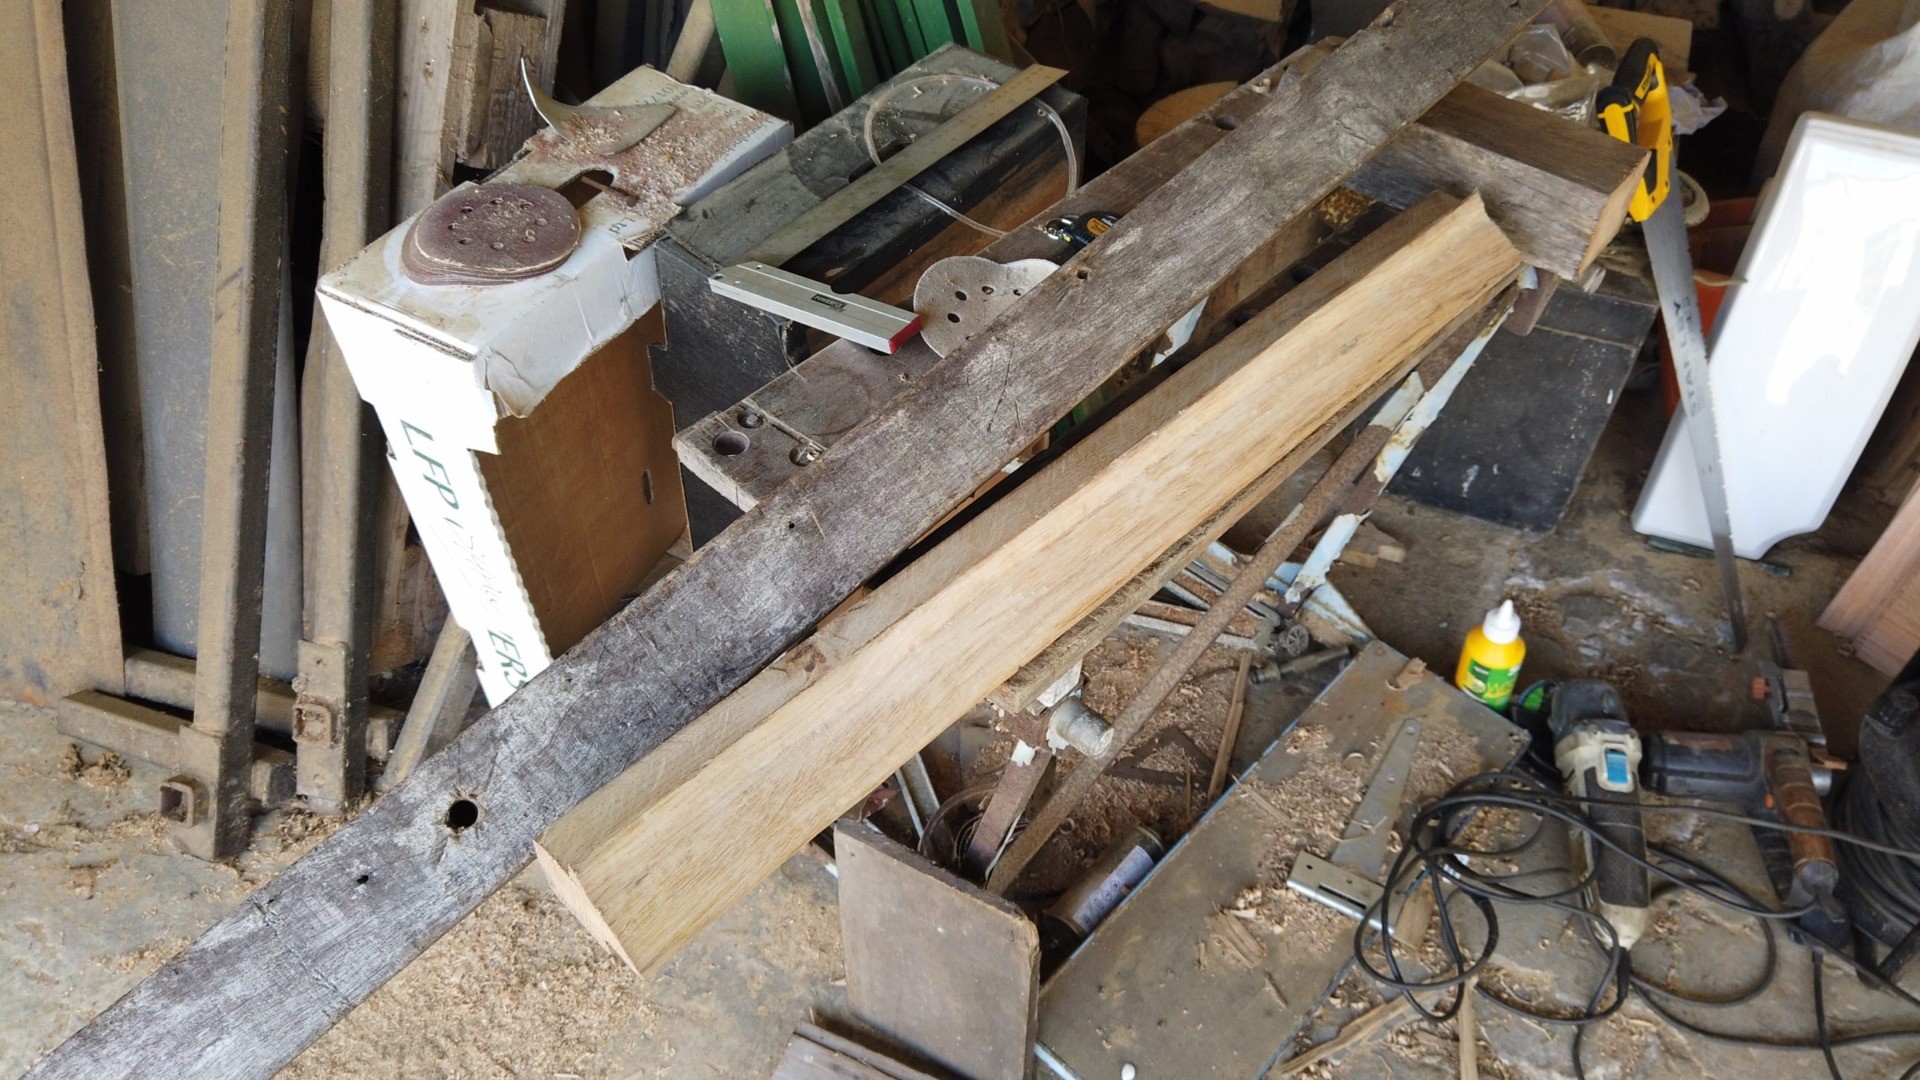
The next Marketplace find was a recently felled oak tree. Obviously, the moisture content was much higher at between 12 and 16%. Some had been sawn with a circular saw other bits with a chain saw. However, when a whole van load costs the same as 1 meter of premium oak, you’ll take all you can get! Only a few of the boards are thick enough for the windows (50mm x75mm) but the rest will be excellent for our floorboard repairs (3/4″).
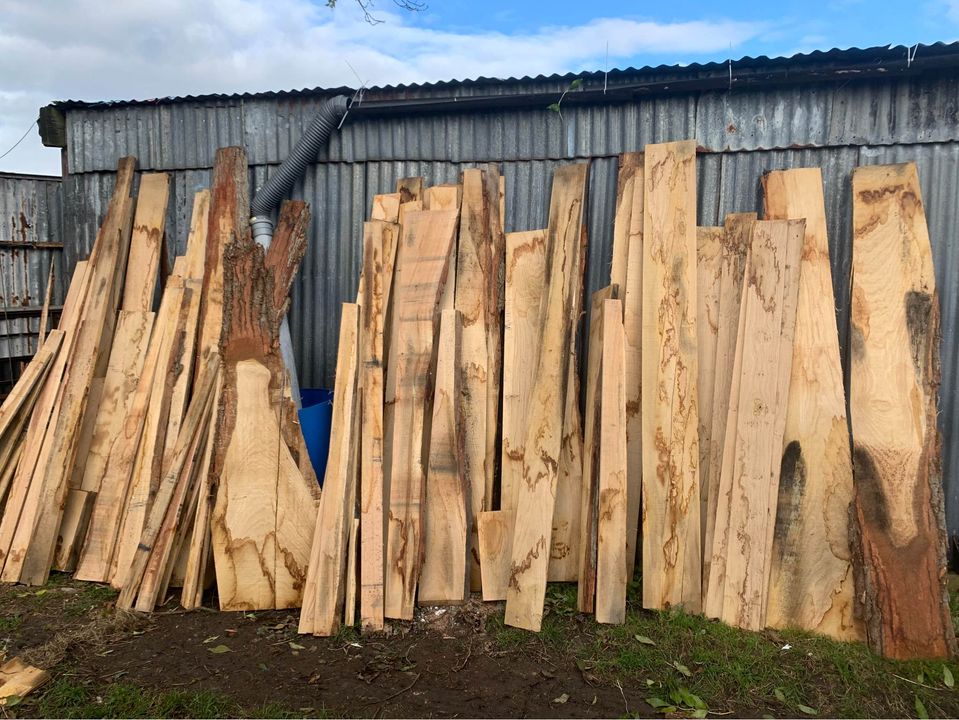
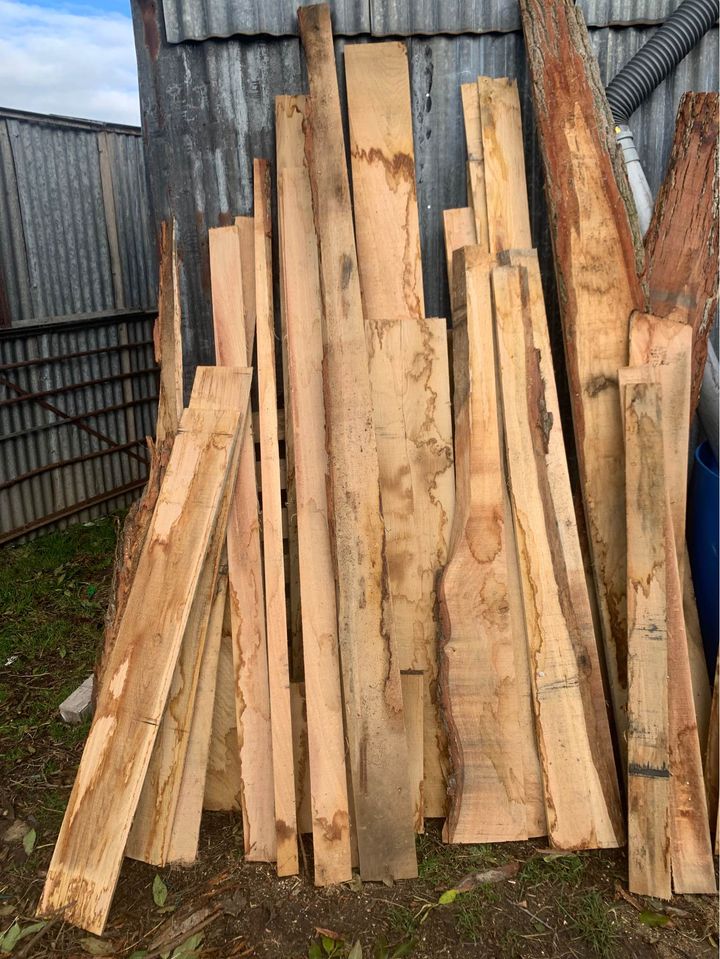
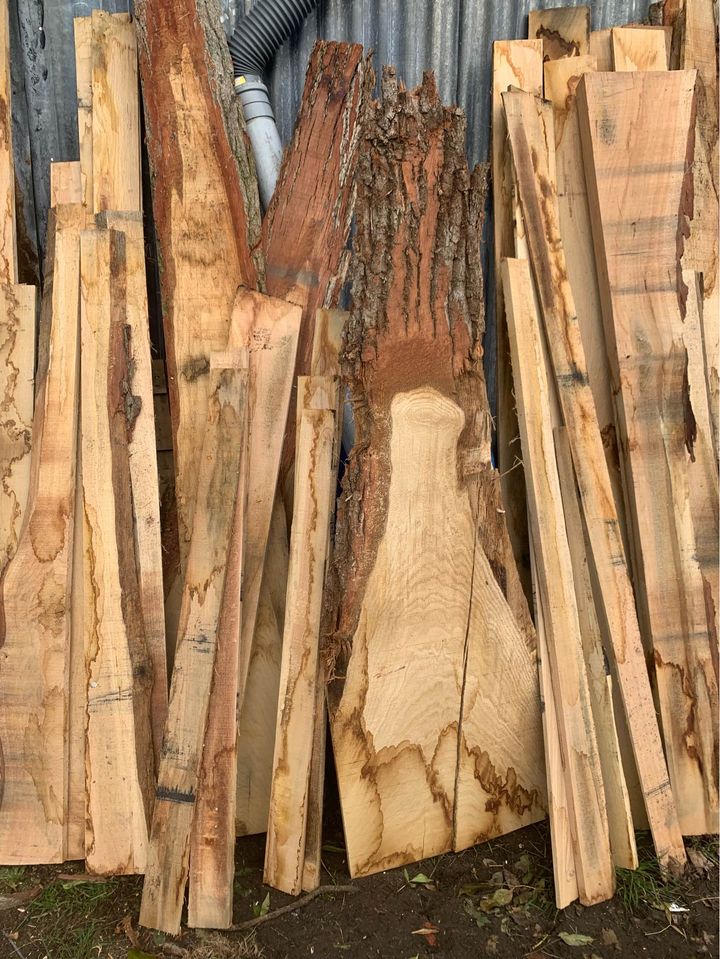
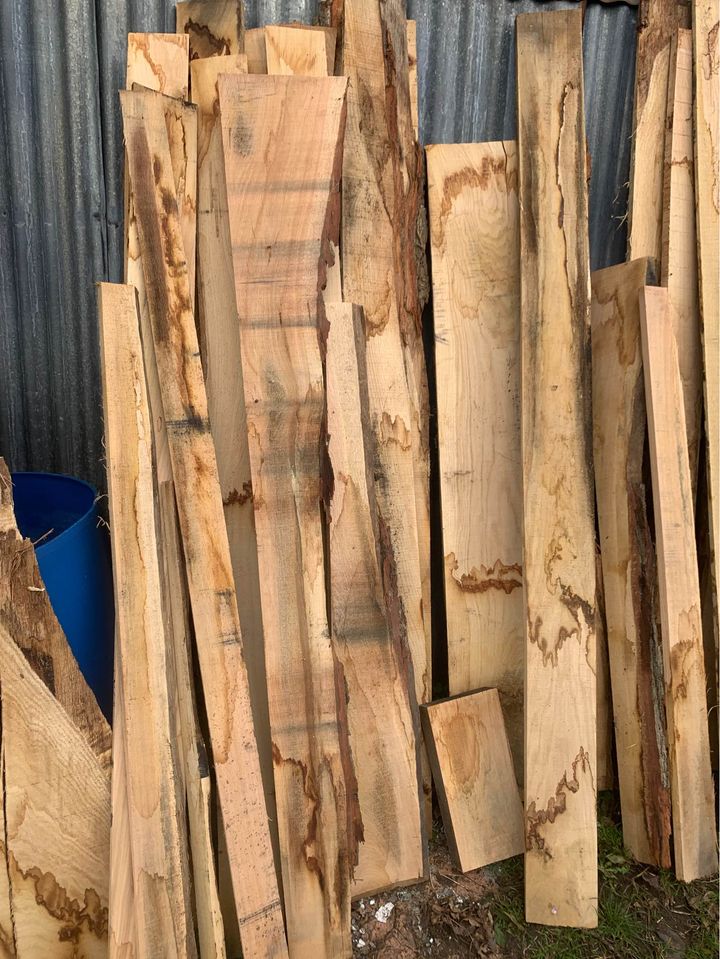
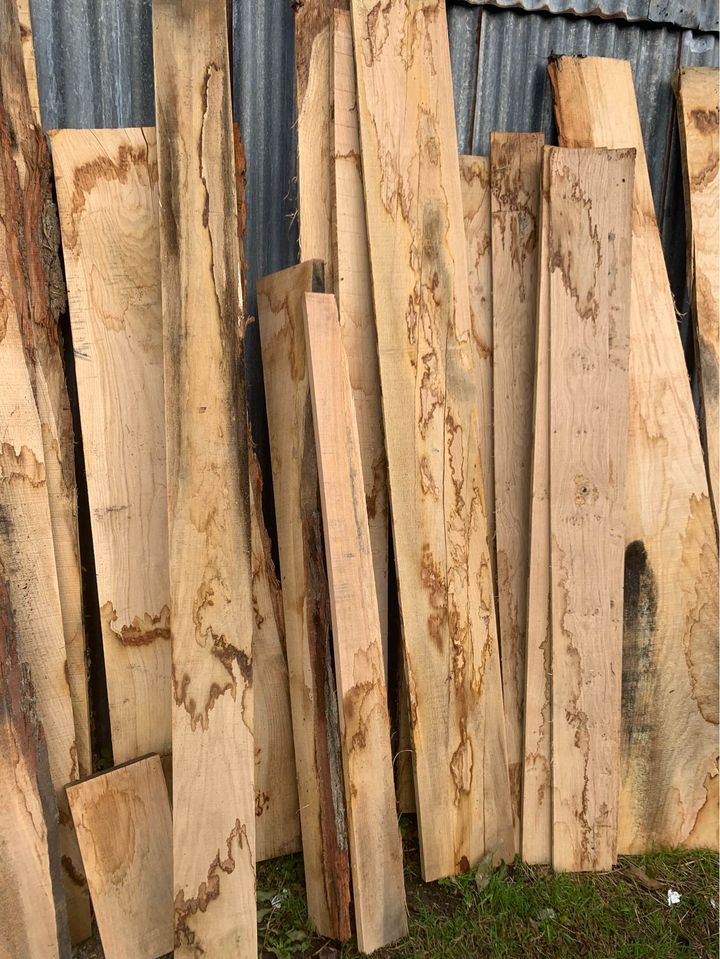
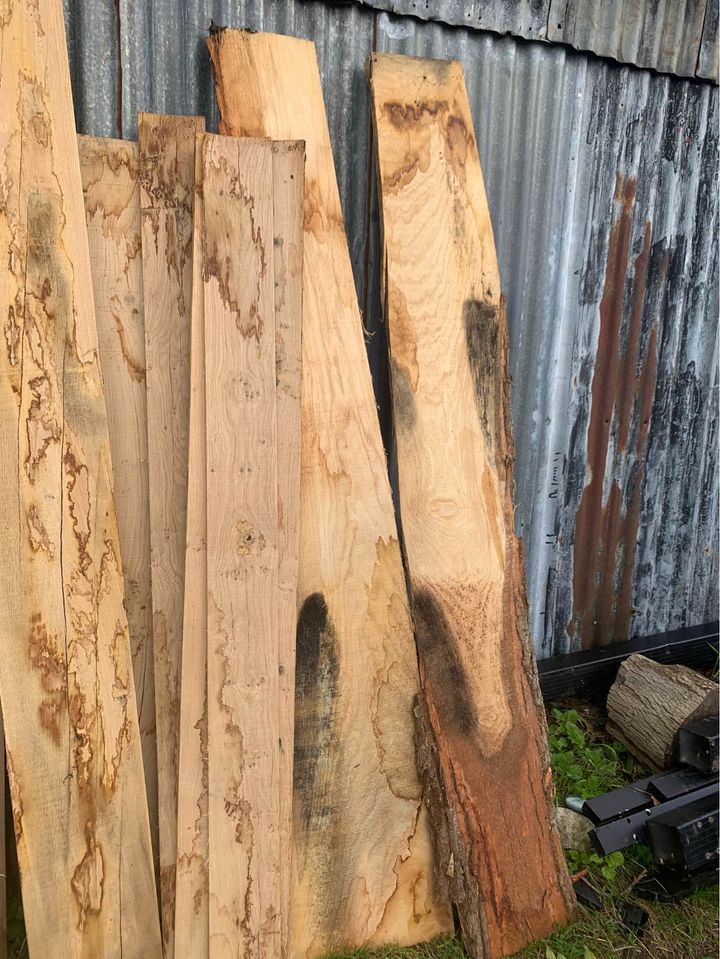
Obviously, some of this bargain oak isn’t as flawless as the premium oak, as there are splits and knots abound. Some of the planks aren’t a uniform thickness, but the marking and knots will add interest to the surface of other projects.
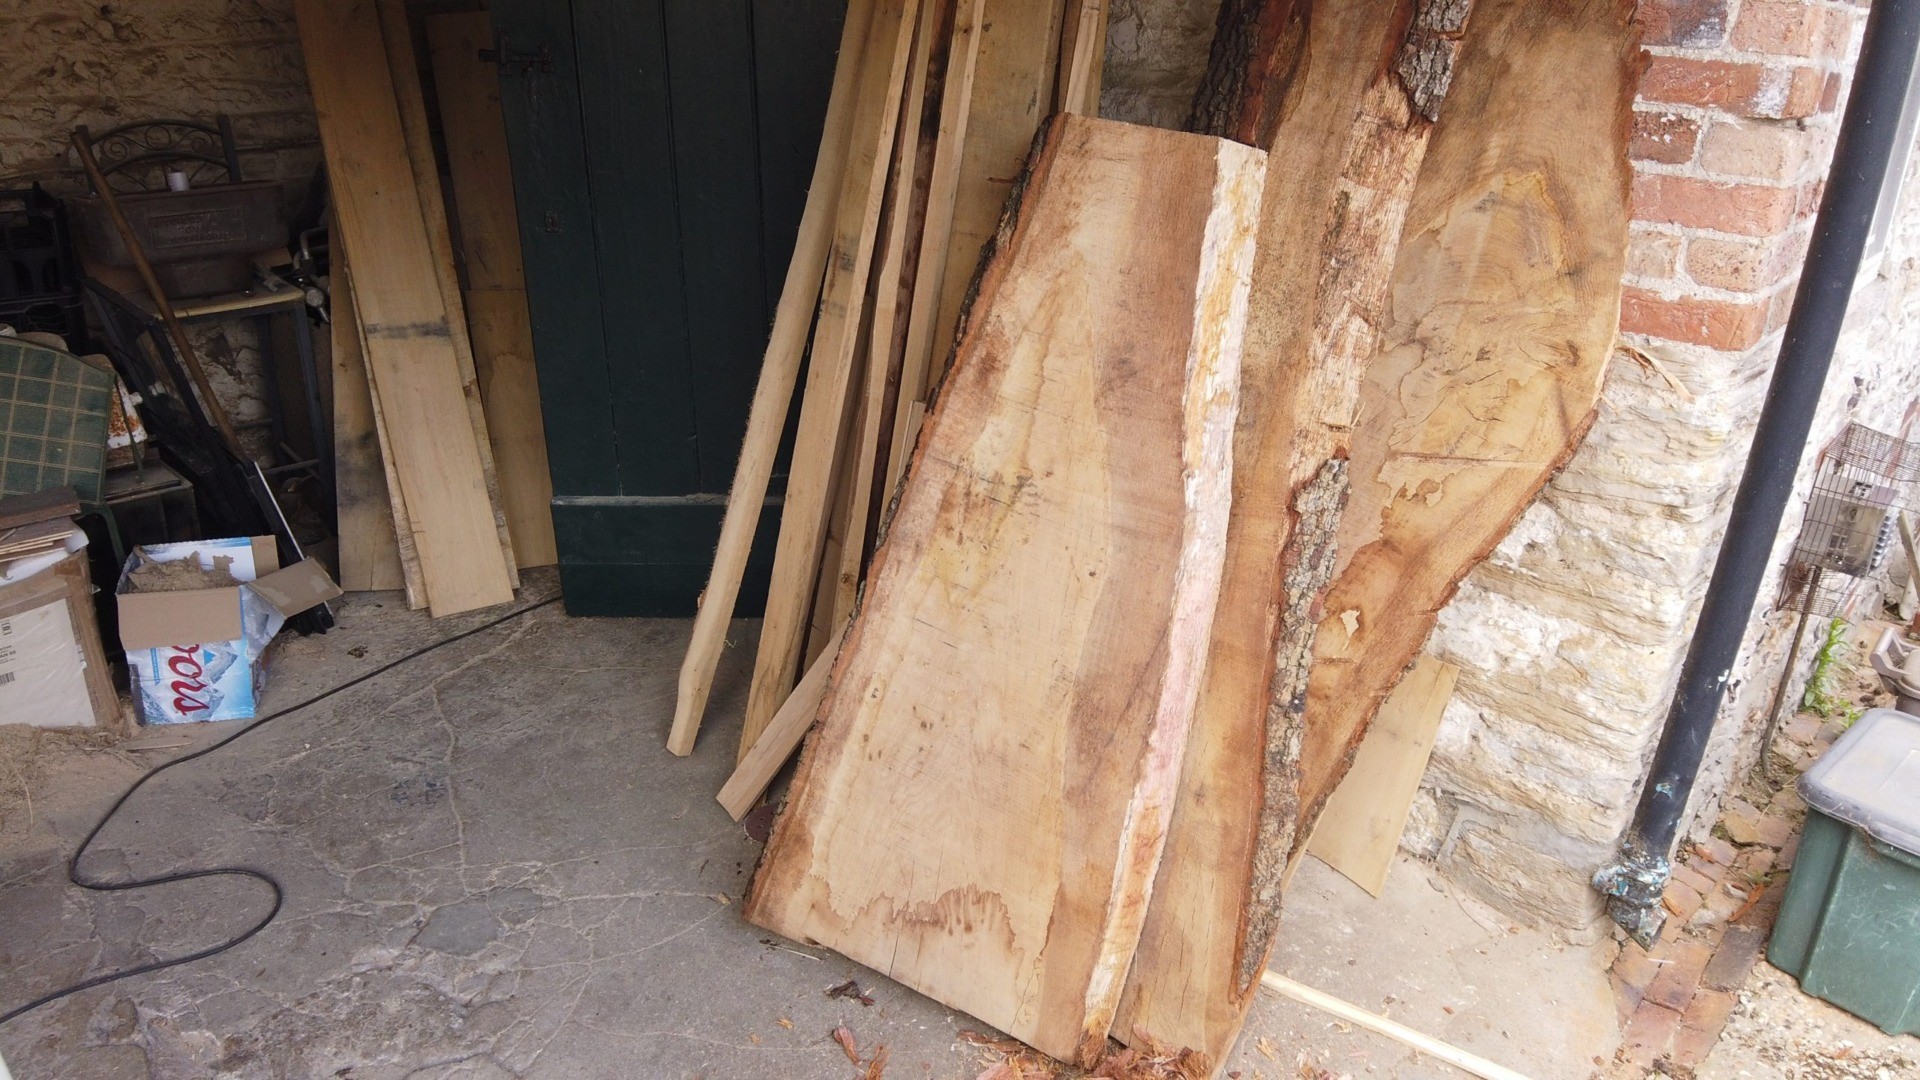
Another Marketplace find were a large pile of huge boards, that were incredibly heavy. We picked up a car load for £50. Our car was low on it’s suspension, but some of these boards were 4 inches thick.
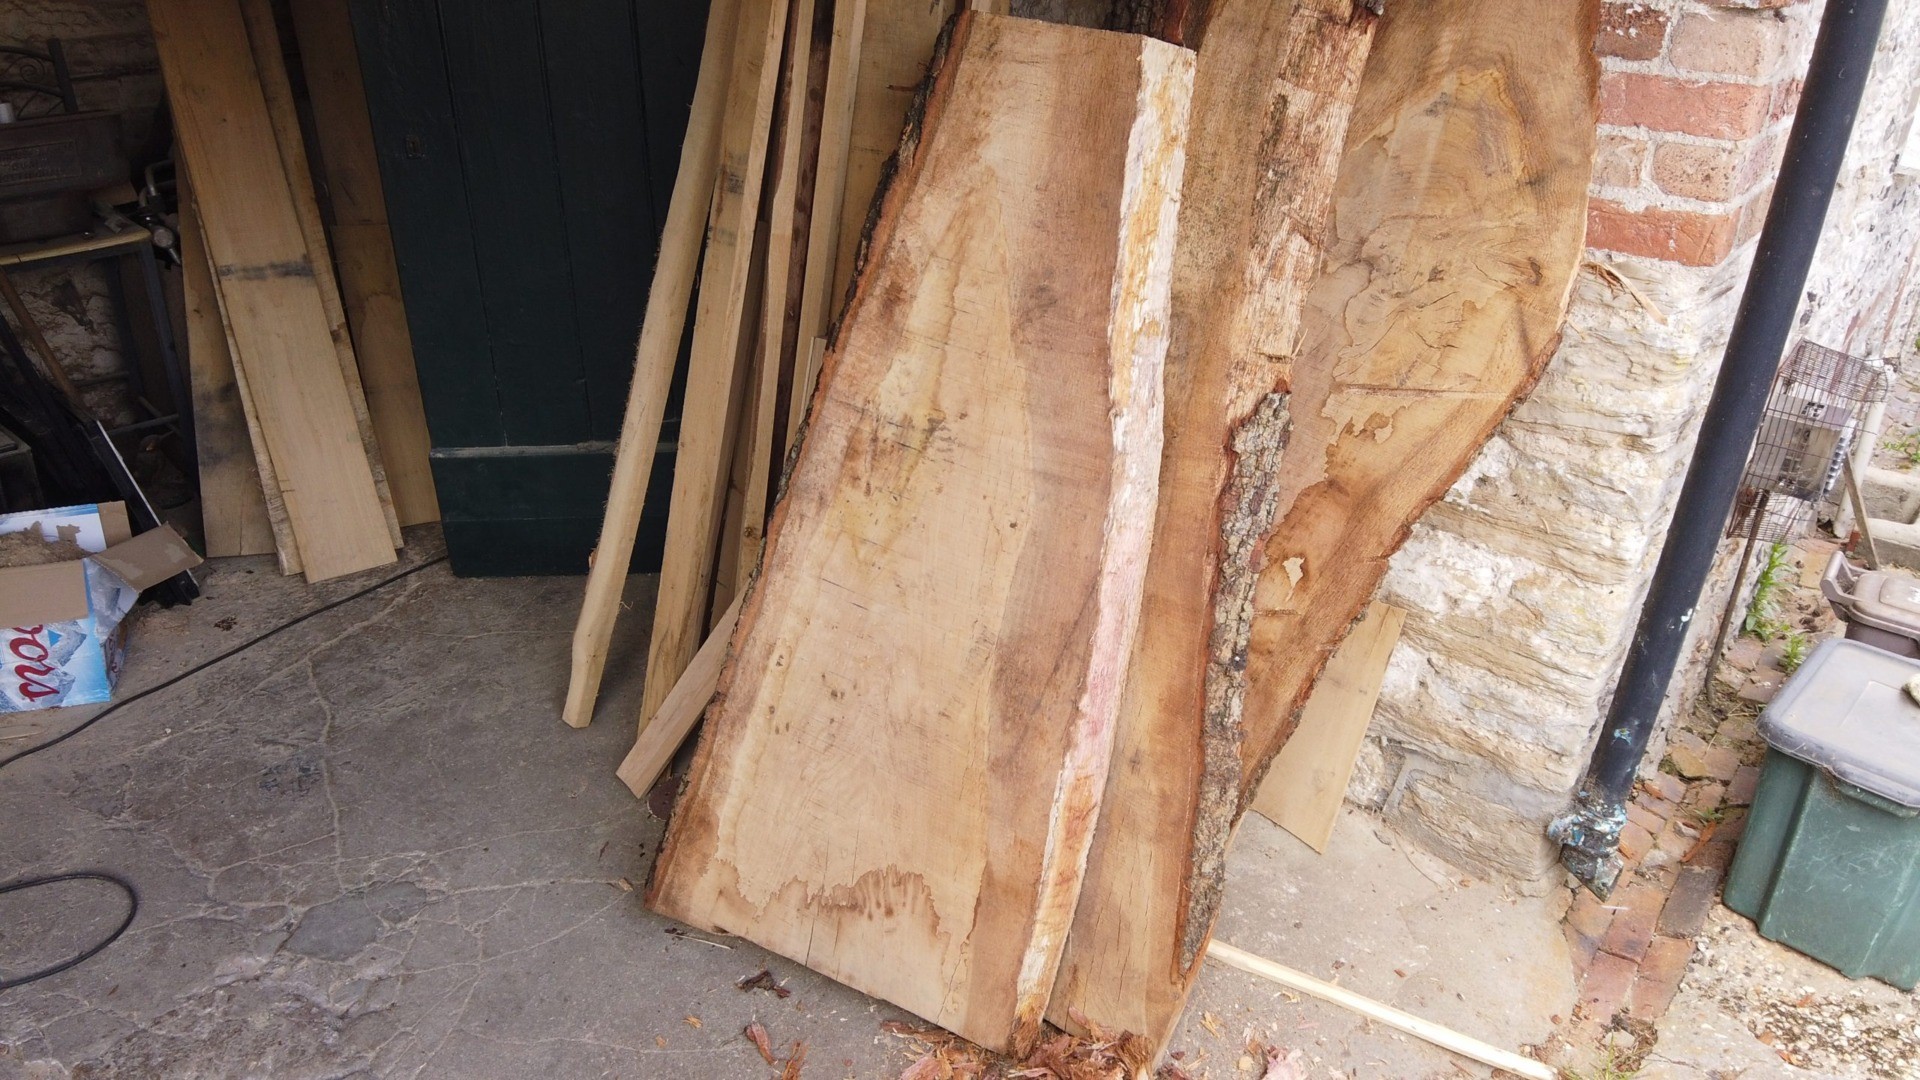
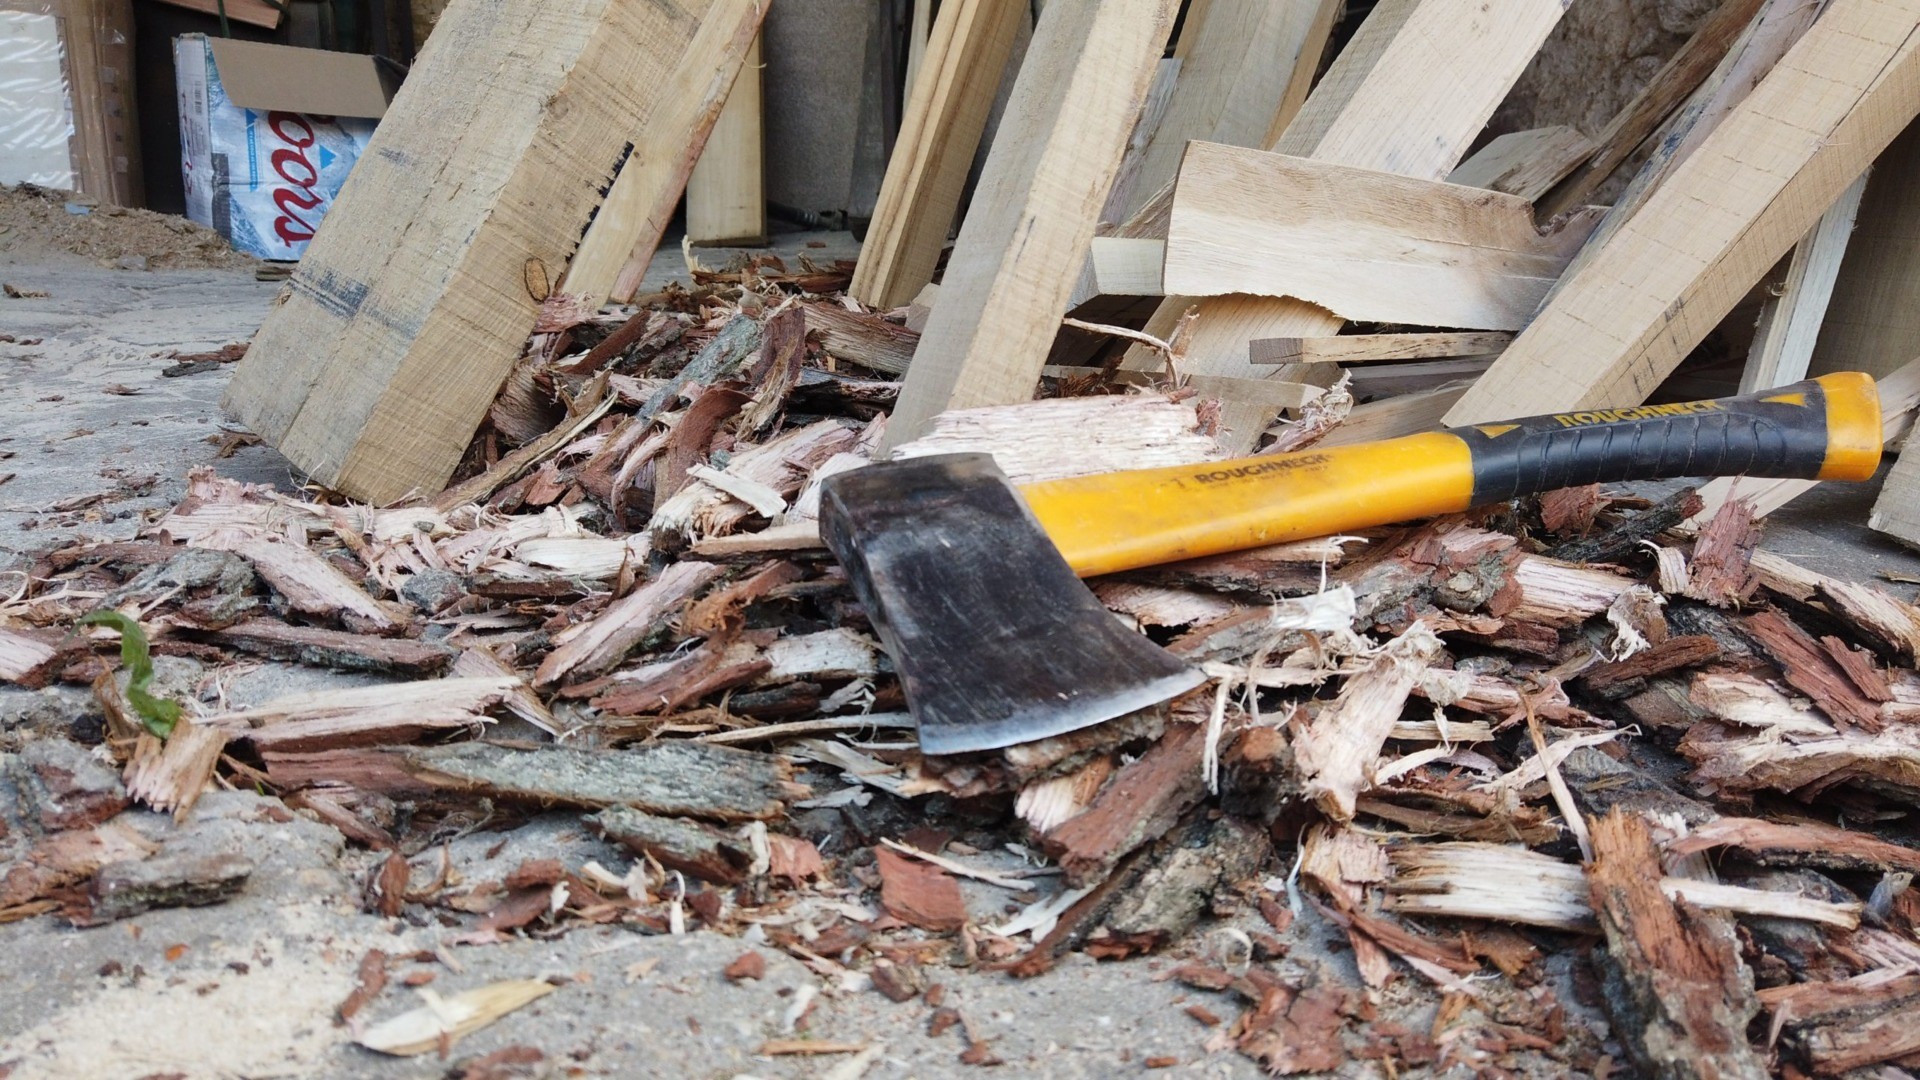
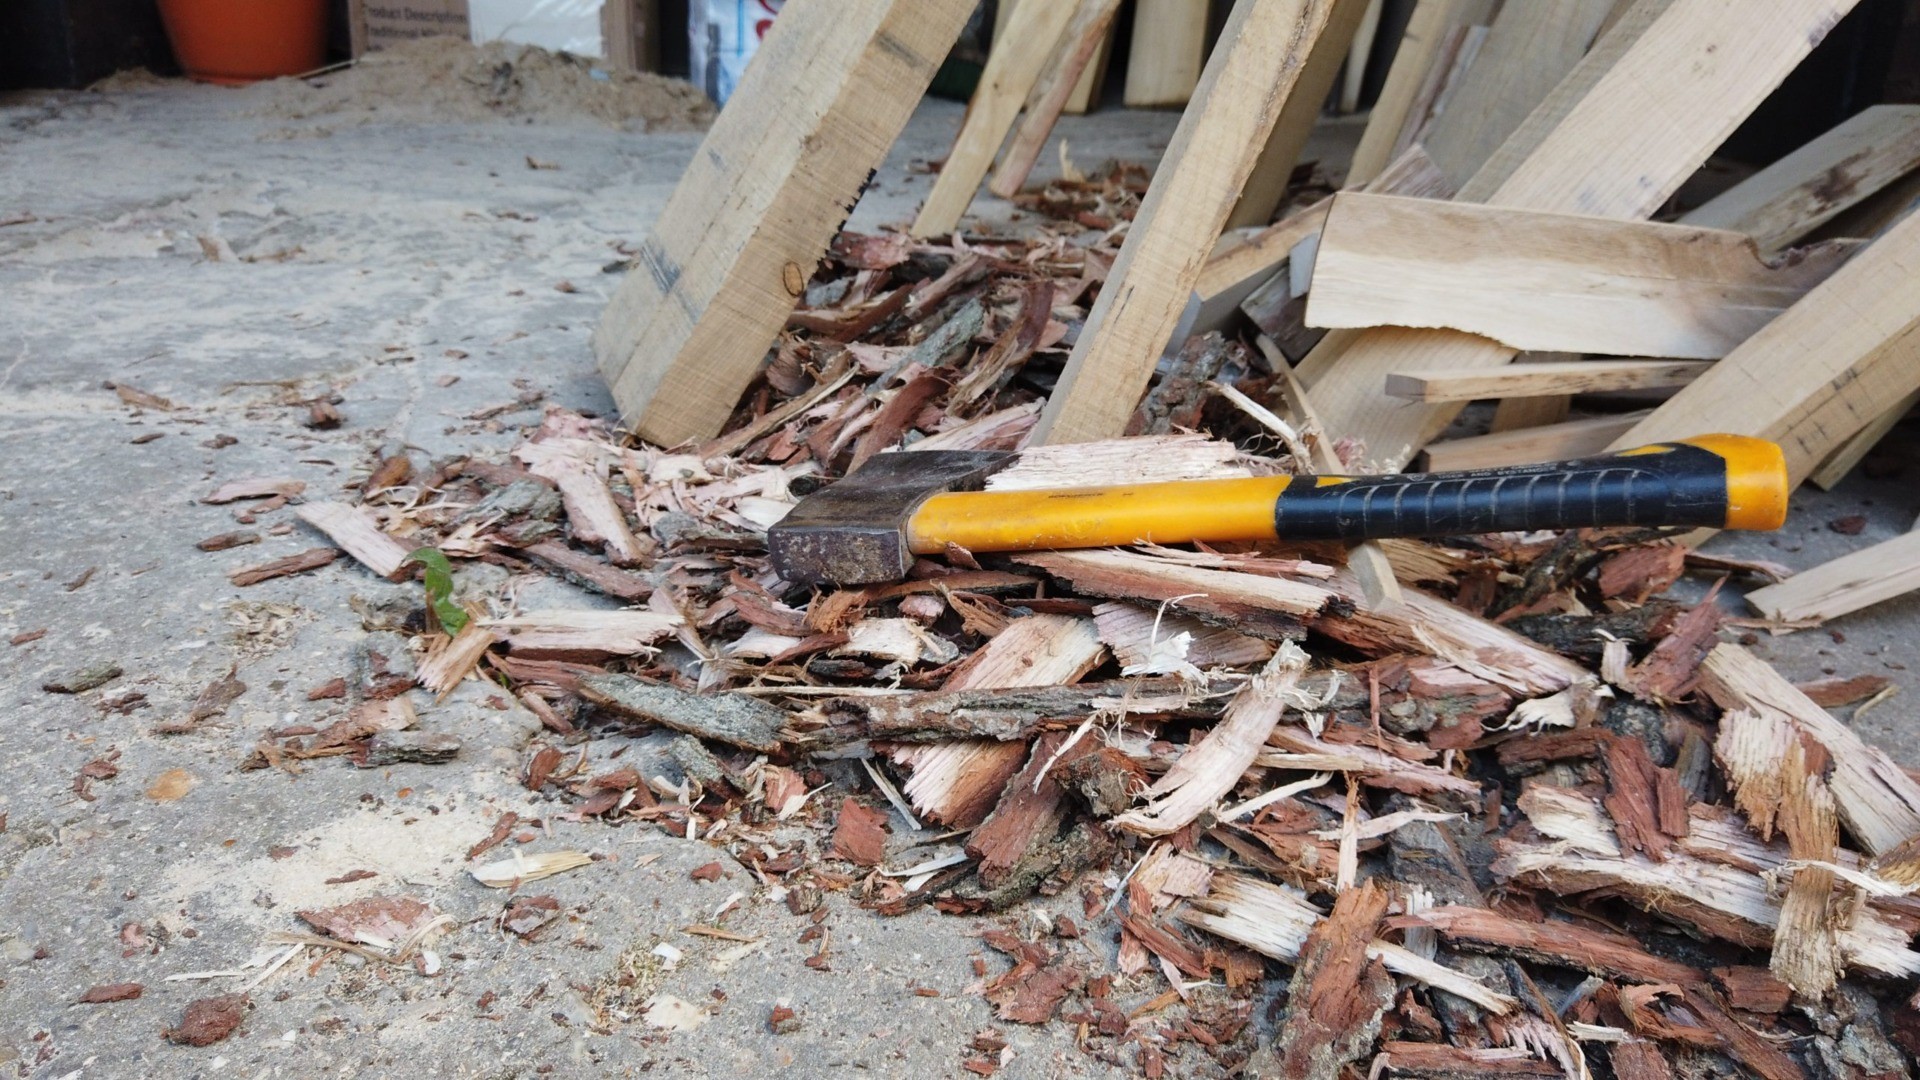
I used a very sharp axe to remove the bark. It provided some excellent kindling.
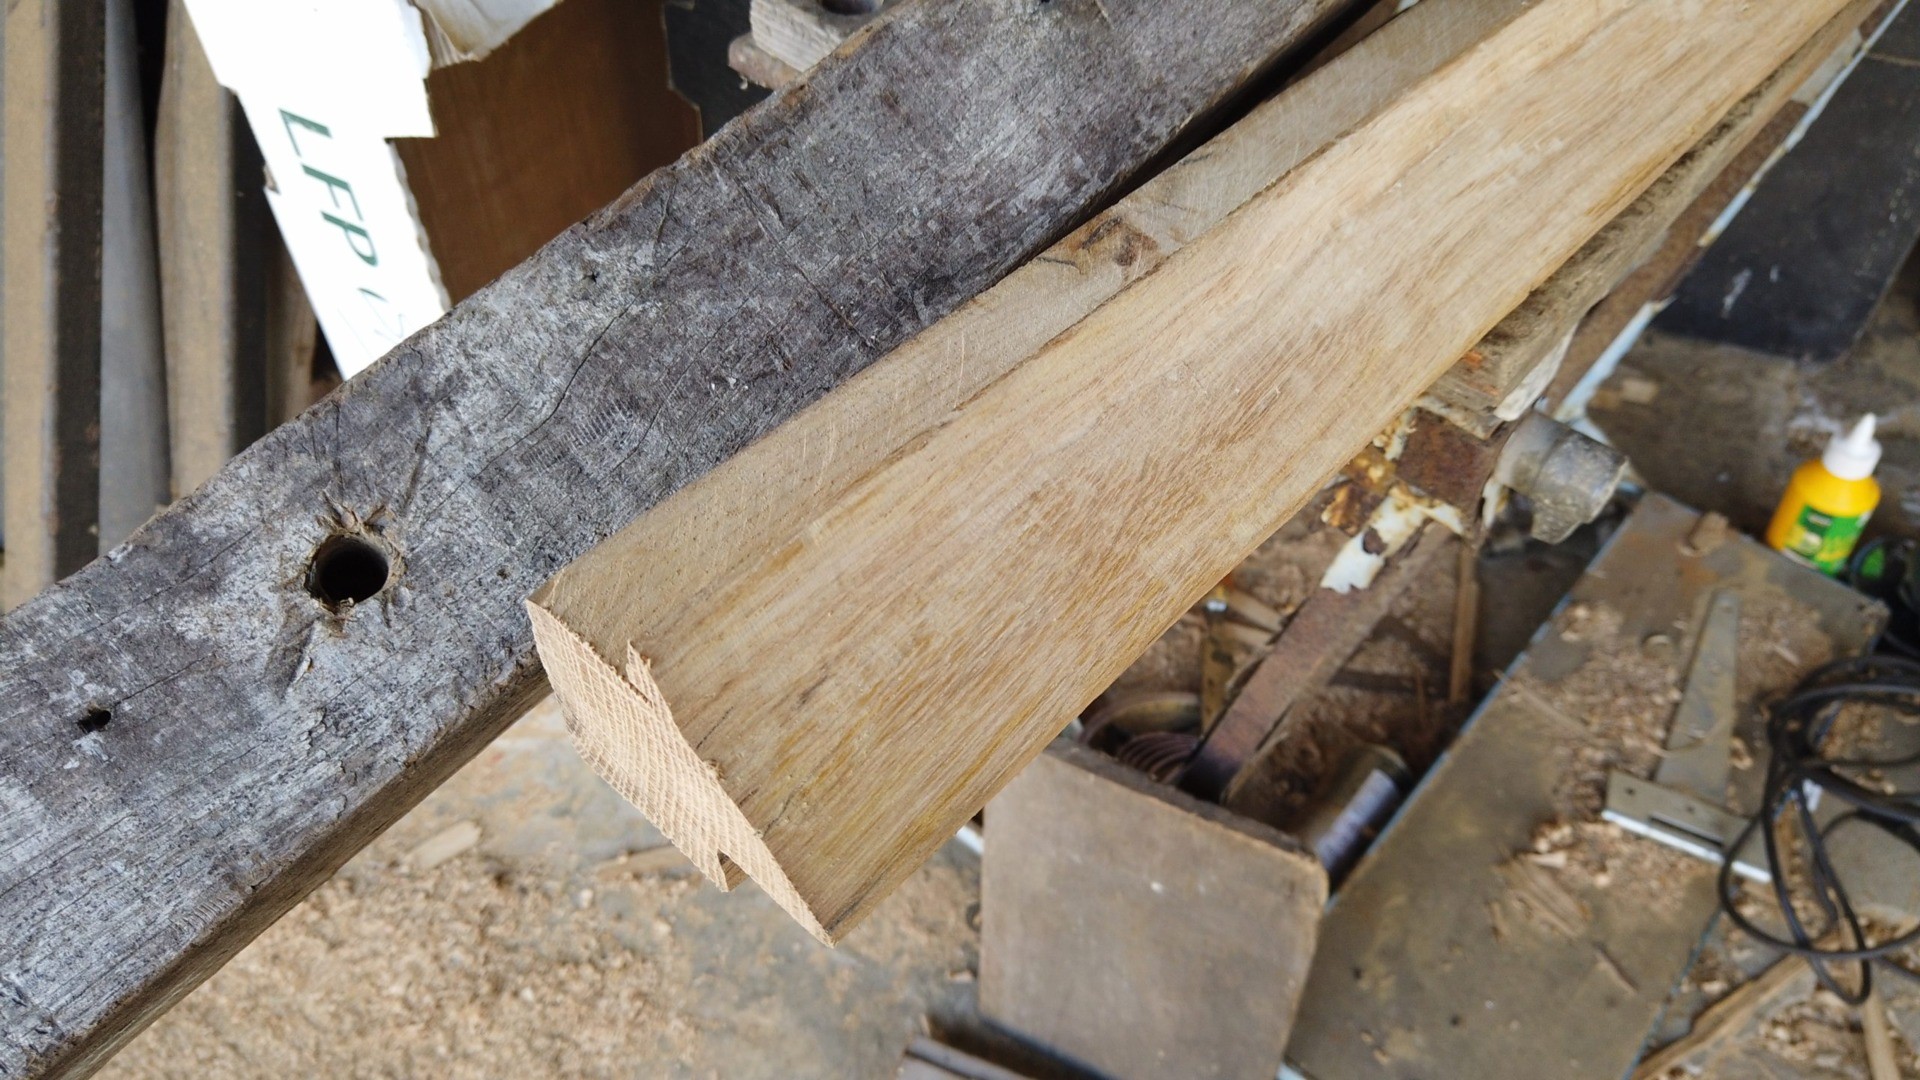
With the old mature pieces I spent several hours removing many nails and screws. Some had a little rust which given how tight they were in the oak, was enough to make them extremely hard to remove. The holes needed to be plugged with oak dowels.
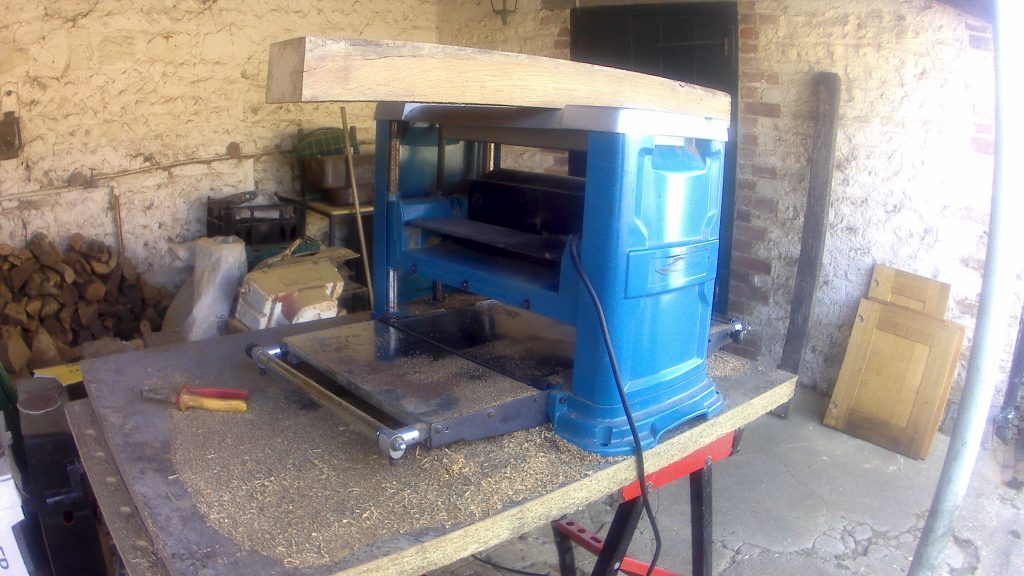
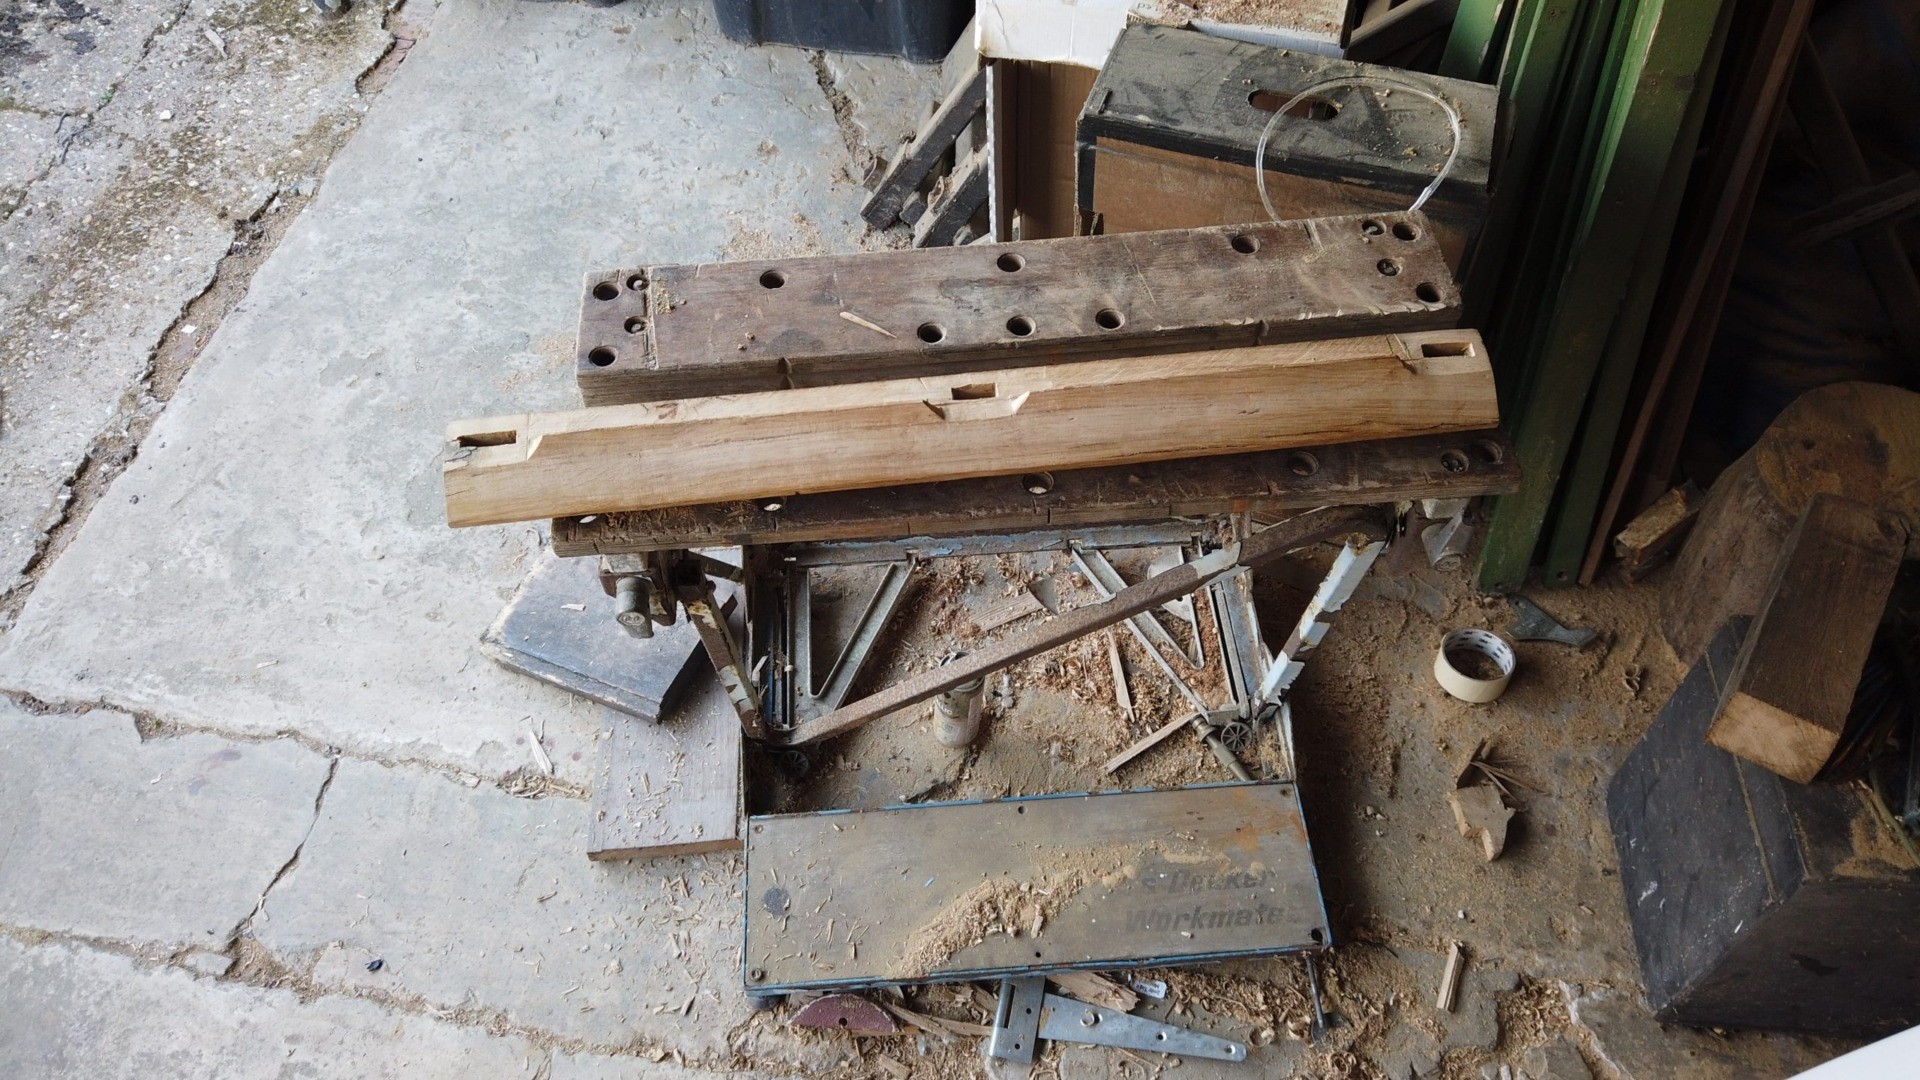
The mature beams were then passed through the planer thicknesser. Although rock solid, sadly the beams weren’t straight. Although I could plane a piece to 55mm thick, it could still be curved along it’s length. Without a way to steam them straight, the only option was to choose a narrower section through the middle.
After the mature oak beam had been planed to 75mm x 50mm, the next job was to pass it through the table saw. Unfortunately because most of the cuts were ‘blind cuts’ that didn’t pass all the way through the wood, I had to disassemble the saw and remove all the safety shields. My old table saw allowed you to set the depth of the cut but my new bargain model didn’t, leaving me to cobble up some make shift spacers. This part of the exercise was a heath and safety nightmare!
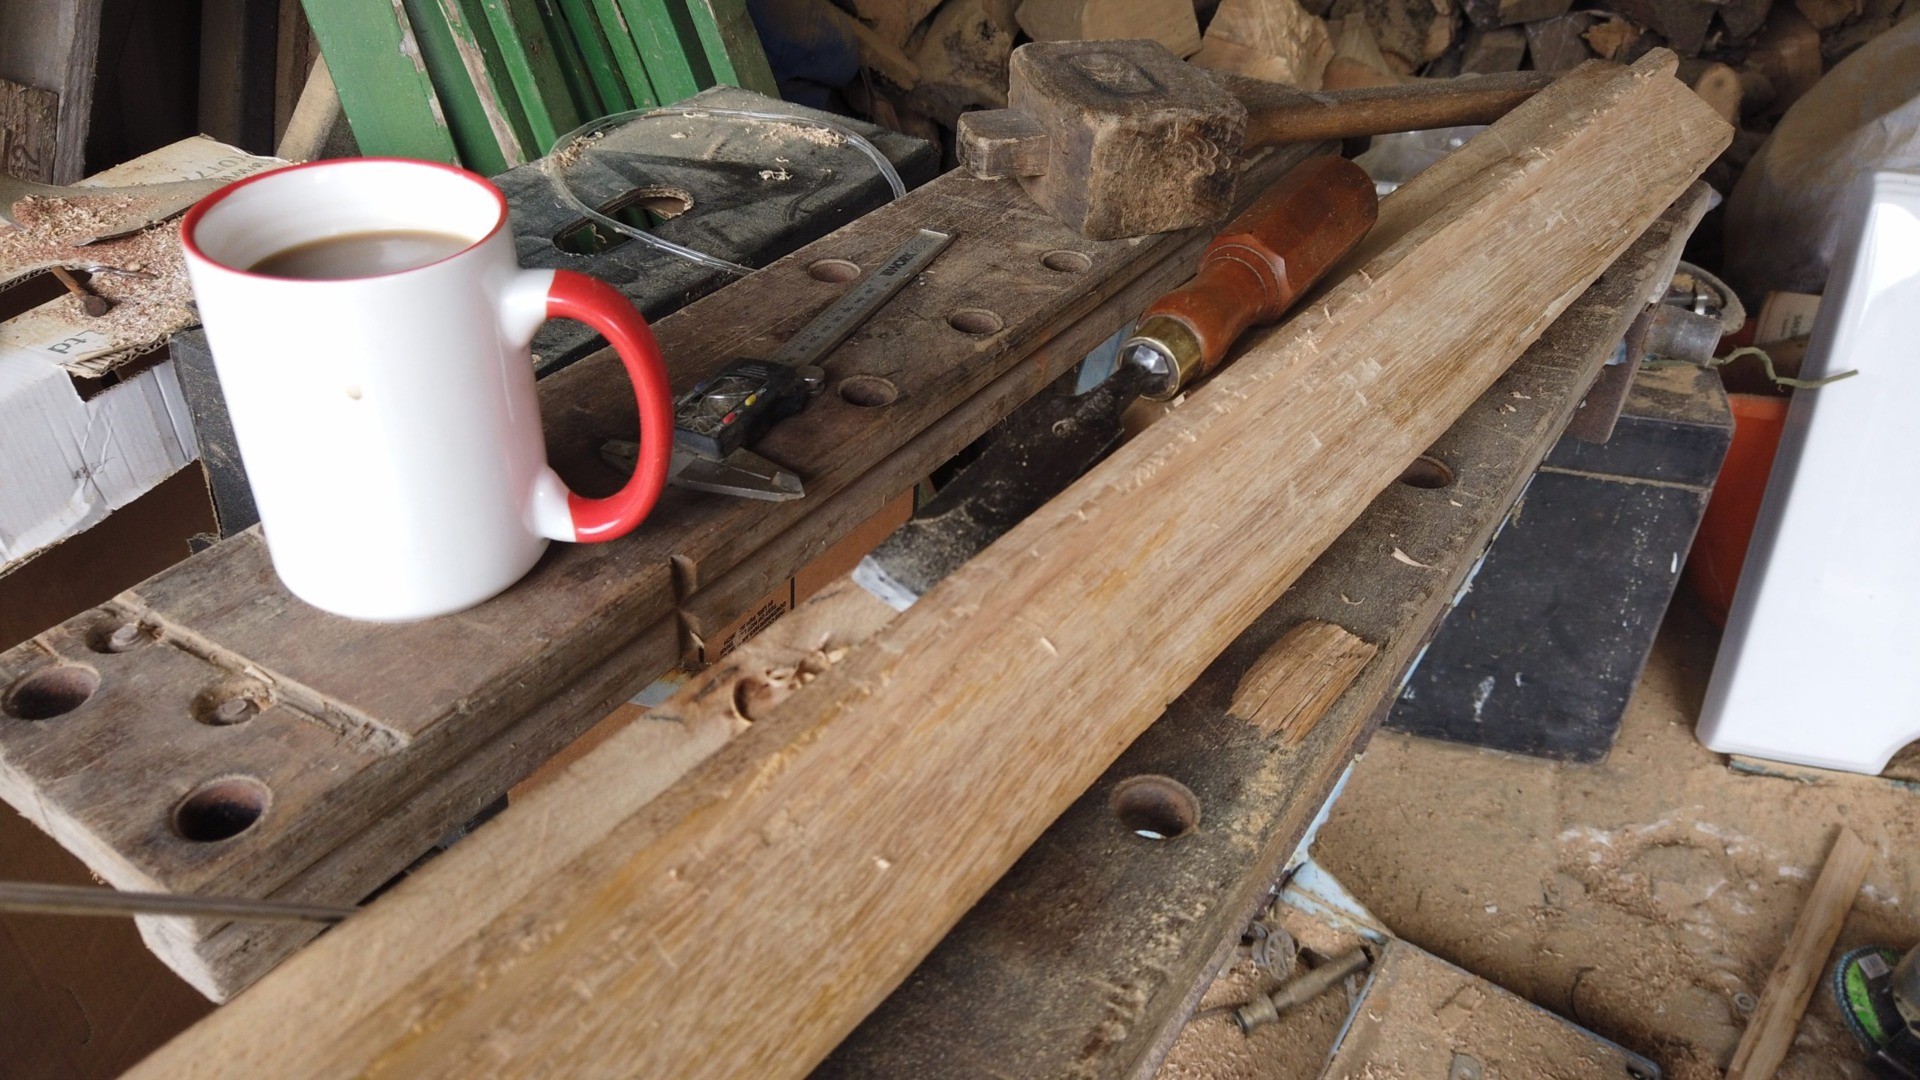
Once the shape was sorted, the next job was to cut out the glass fixings, which needed 45 degree corners.
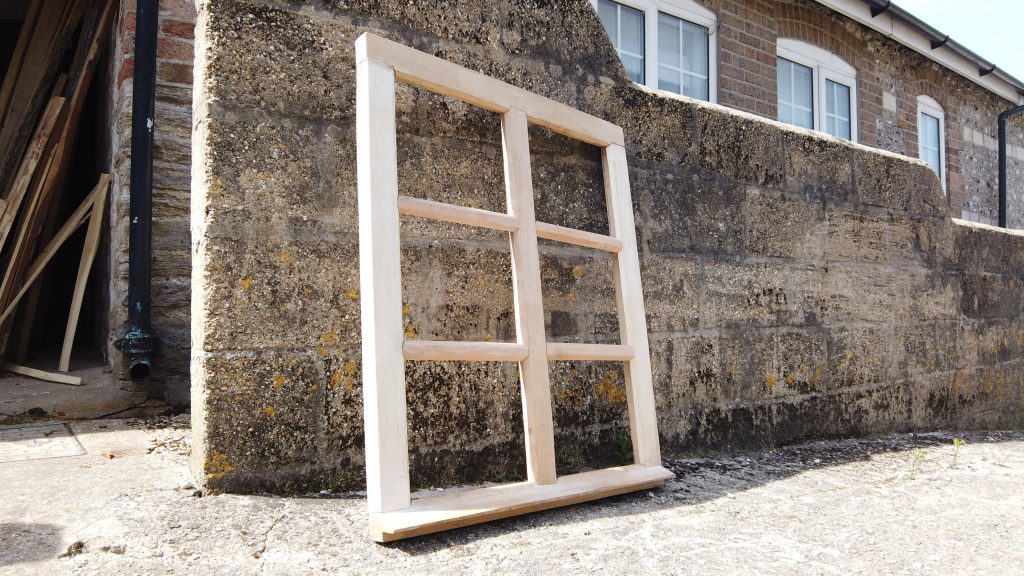
I want to learn traditional skills whilst making these windows, so I’m using Mortice and Tenon joints in the corners. I’ll dowel them to hold the joints solid.
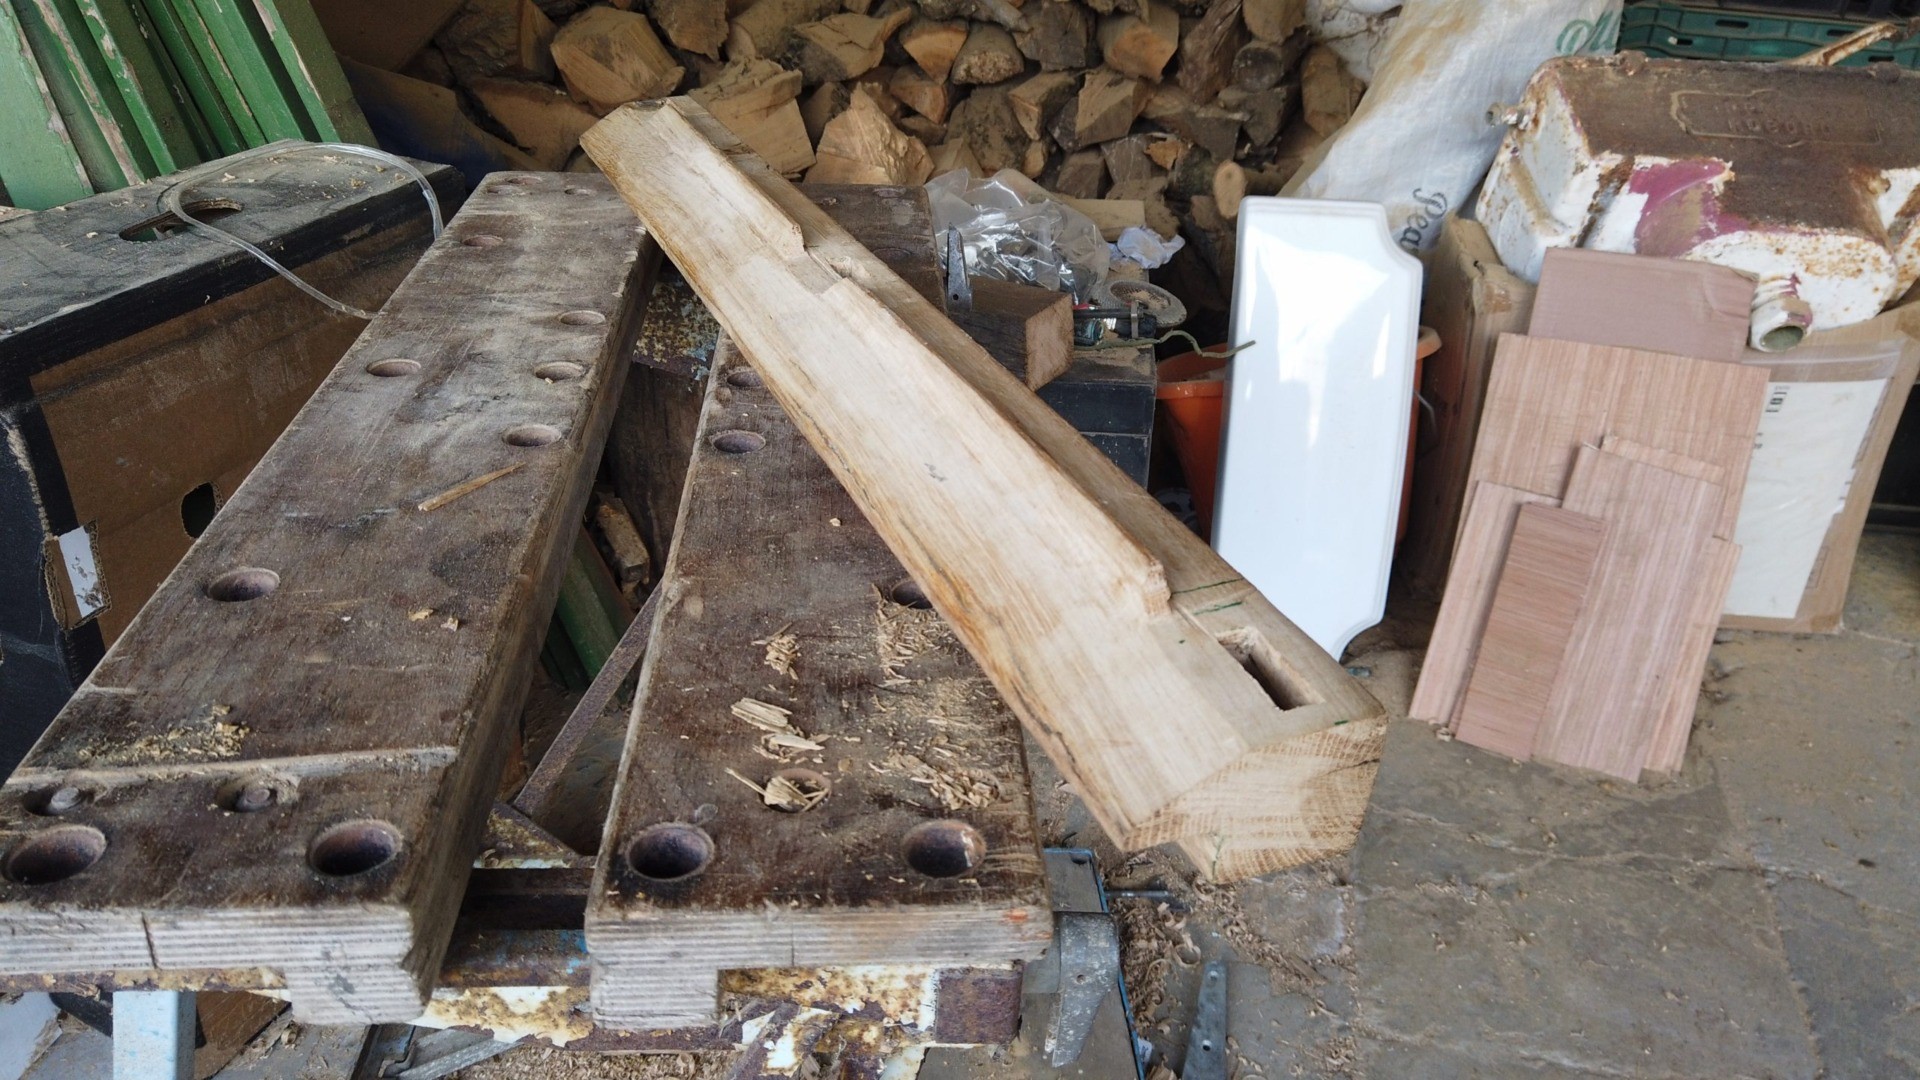
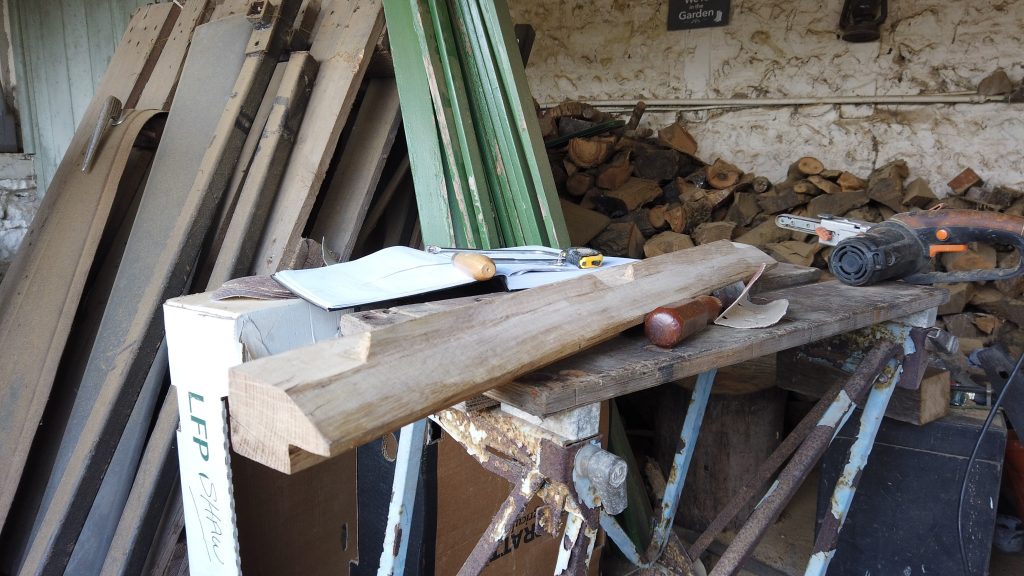
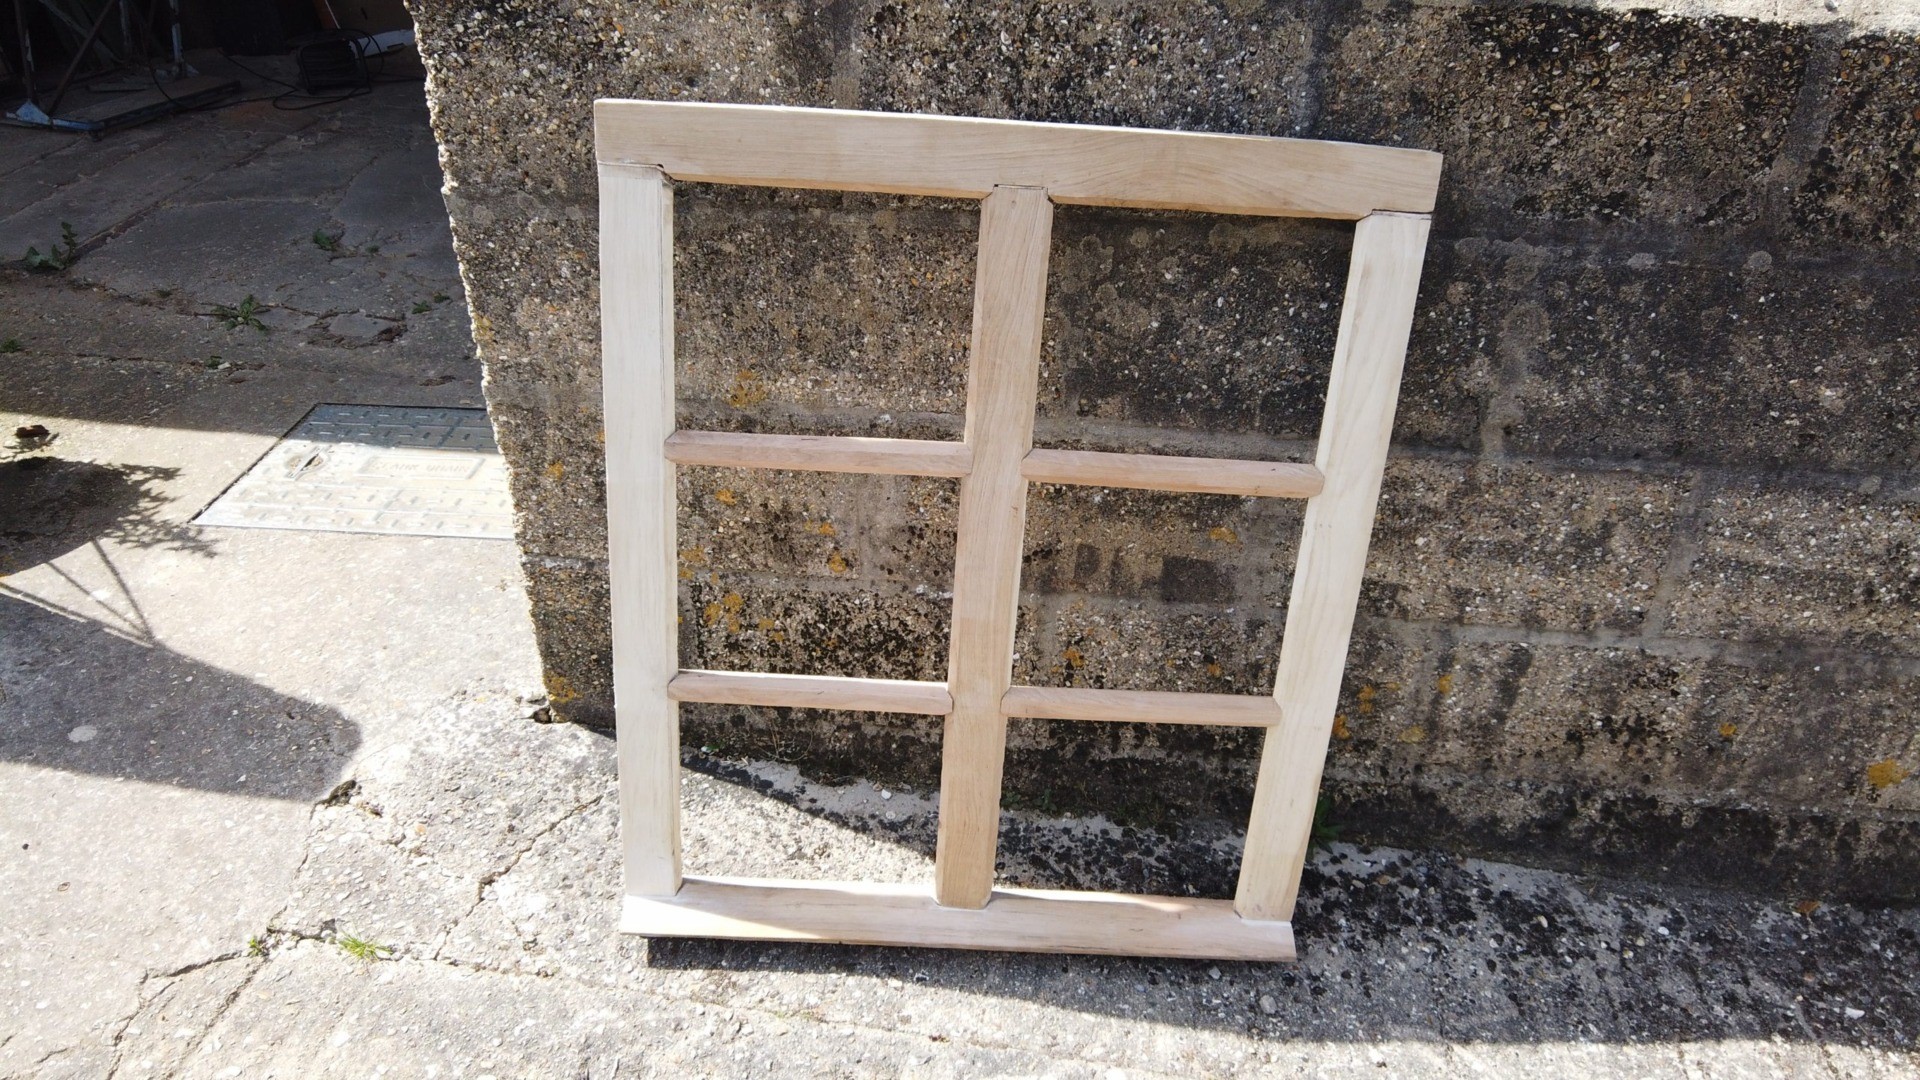
Once I had run all the pieces through the table saw, I essentially had a kit of parts for a self-assembly oak window. The only tools needed were a wooden mallet and some wood glue.
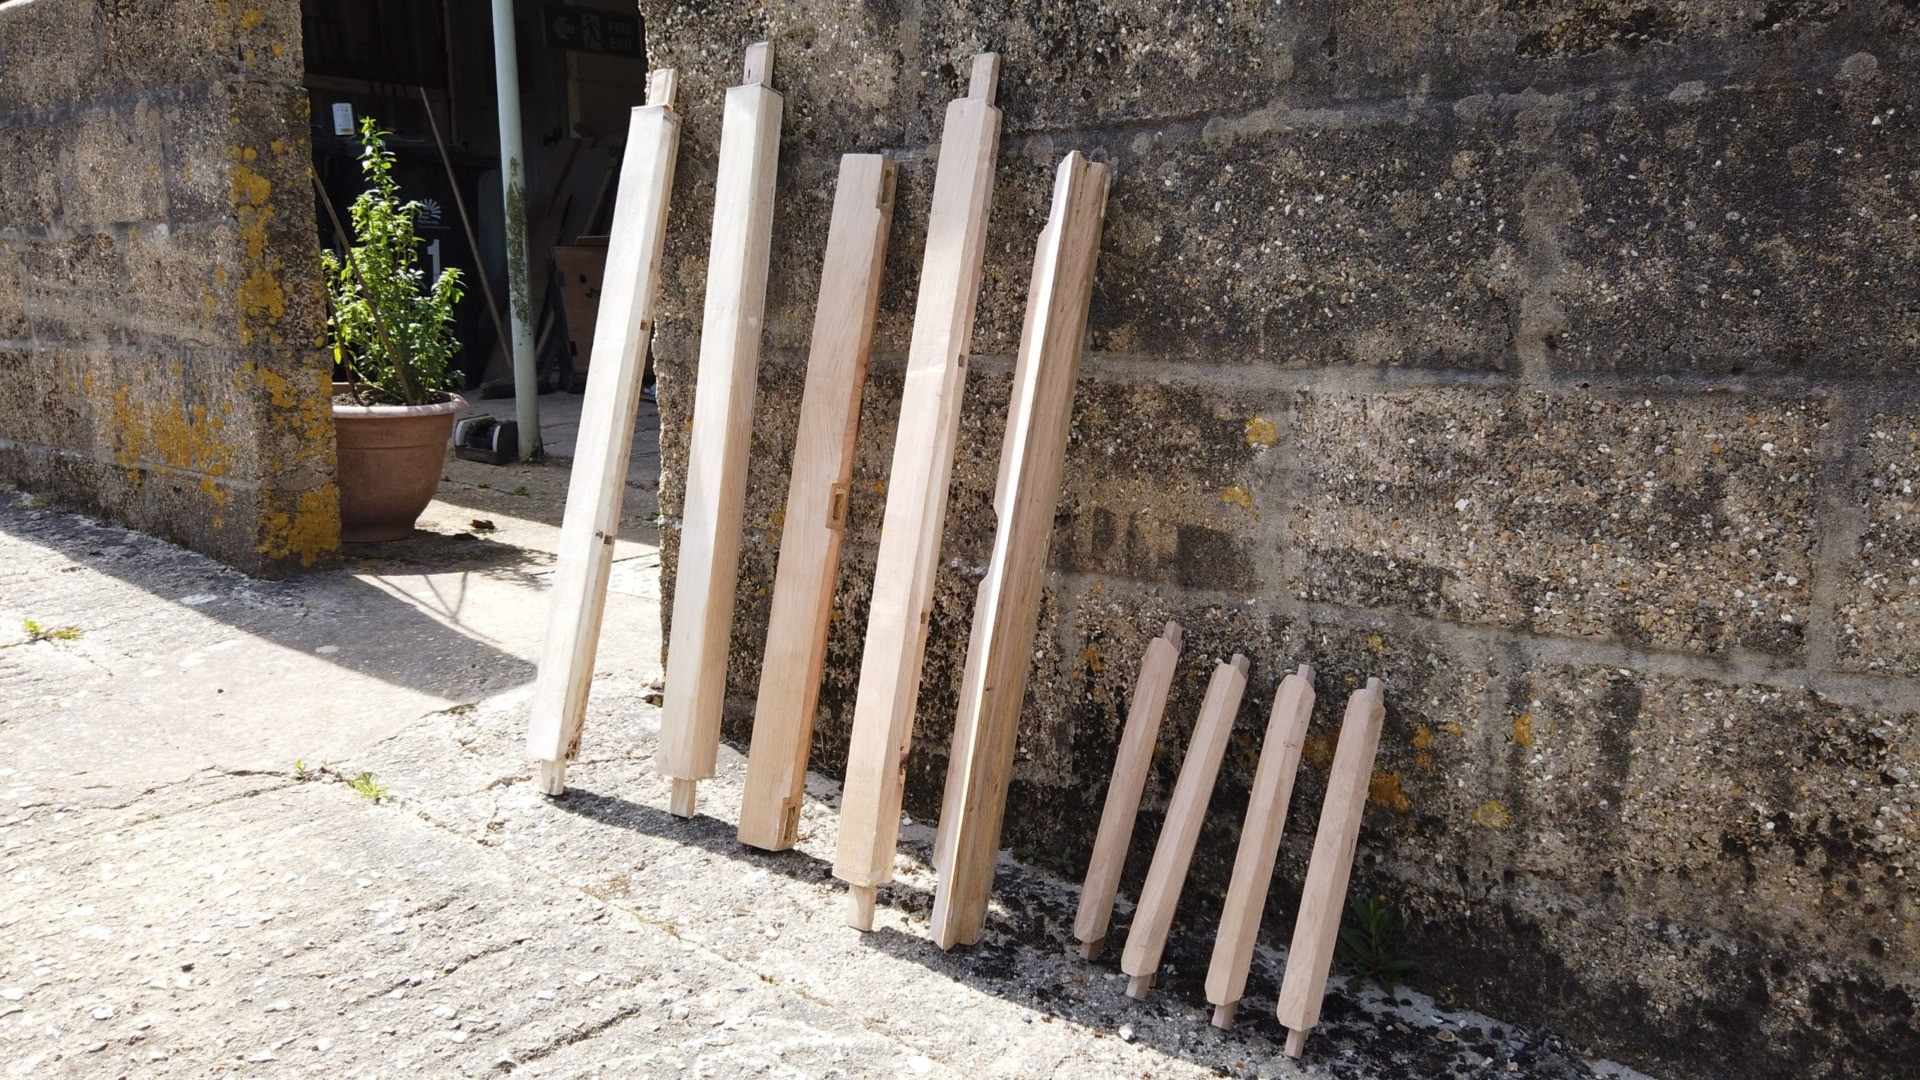
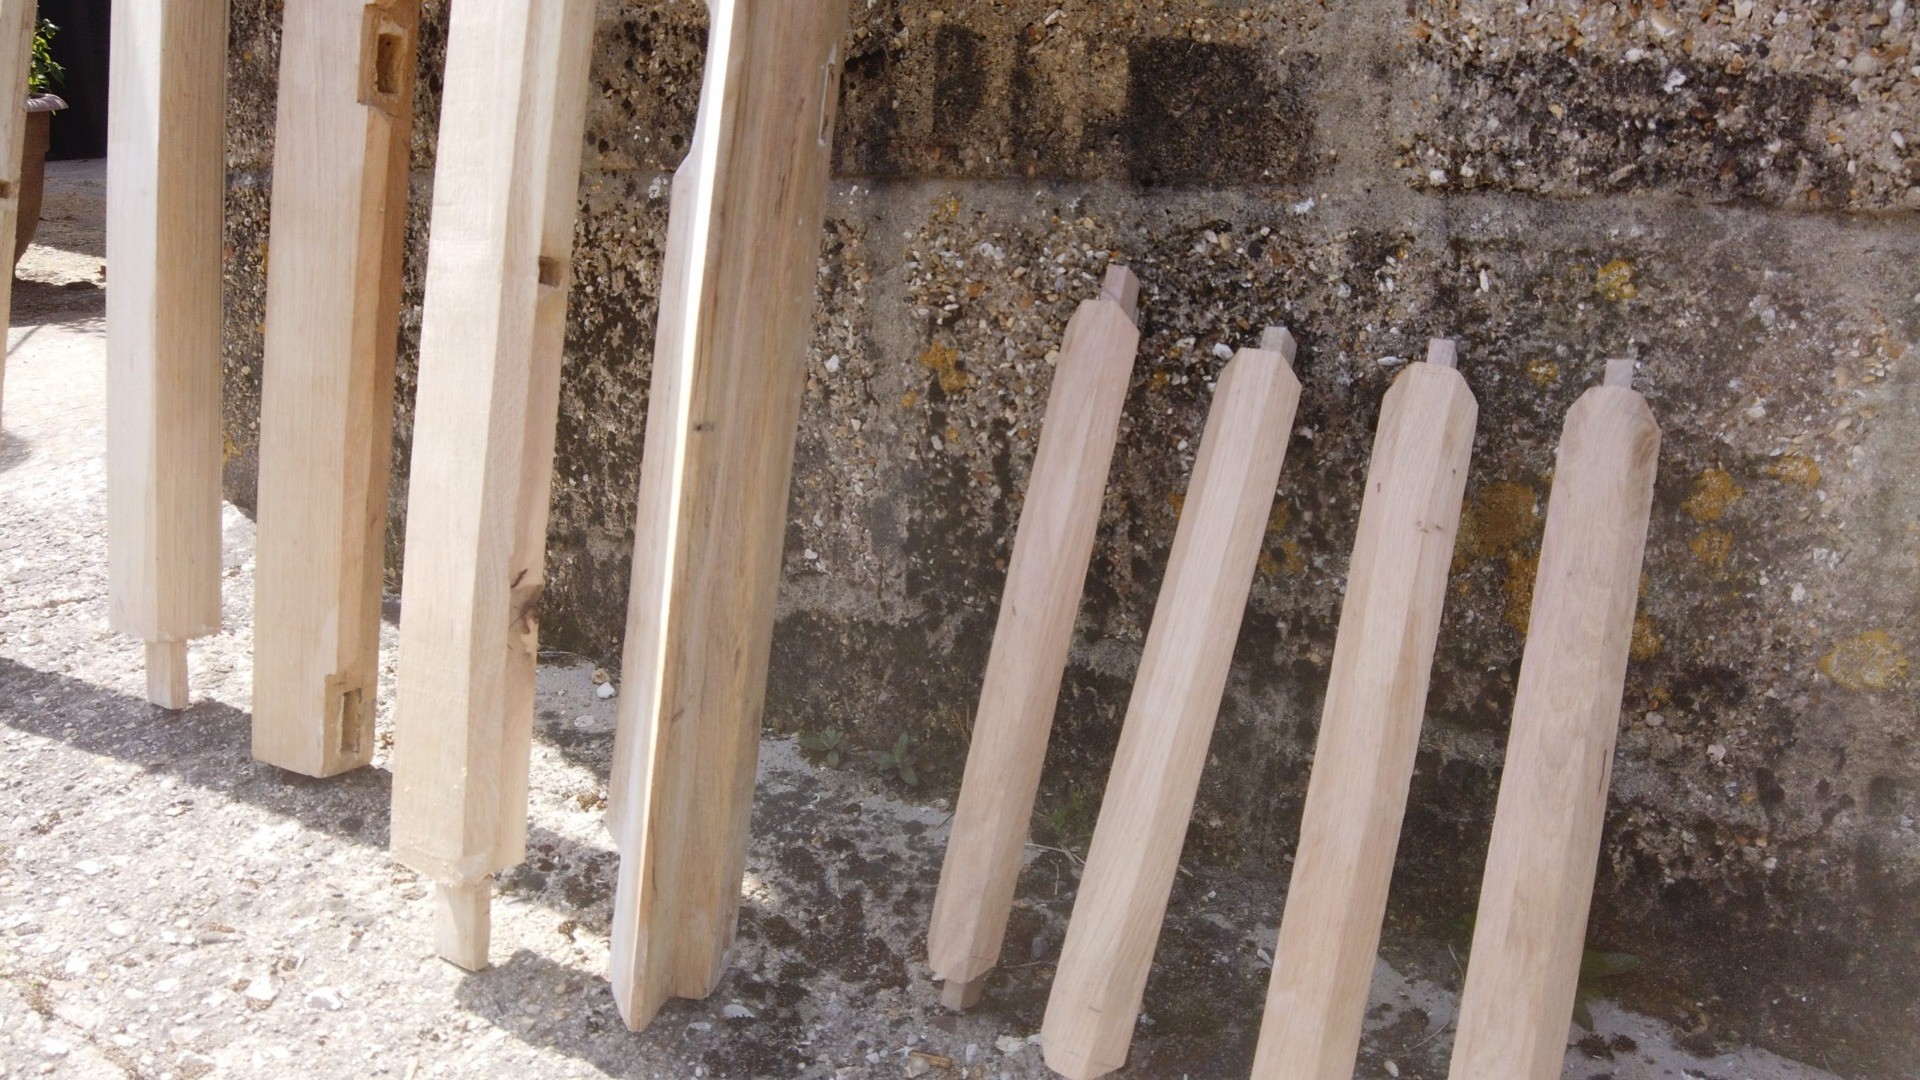
The window has a lot of mortice and tenon joints, that once assembled, hold the window tight and square with no glue needed. By the time the joints have been drilled through and had oak dowels pressed in, hopefully the glue really will be redundant.

The next challenge was sourcing double glazed panels. We needed 12 panes 310mm x 270mm, 18mm thick. Online glazing sites; that were unfortunately collection only and in the centre of cities hundreds of miles away; showed we could get panels for under £15 a pane. We began emailing local suppliers, with some coming back closer to £80 (£960 total), with the average being £45 (~£550). Eventually after three weeks of searching, persistence paid off and we found a small local supplier at £130 total for both windows.
How much did our DIY Oak Windows Cost?
Interestingly, one company said they didn’t cut glass but did make oak windows. They wouldn’t give exact prices without measuring, but given the approximate dimensions and specifications, we would be looking at £3800 to £4200 with another £700 for fitting (UK only). At a rough guess I’d say we’d be looking at around £30,000 to replace all the rotten windows on our house. – ouch!
In the Village we live in France there is a large factory specializing in traditional windows and doors. Typically we’d be looking at close to €4,000 just for one window! Sacré bleu!
With the oak and the glass, a tiny amount of glue and some tiny nails to hold the glass in place, we’ll be looking at close to £160 for both attic windows.
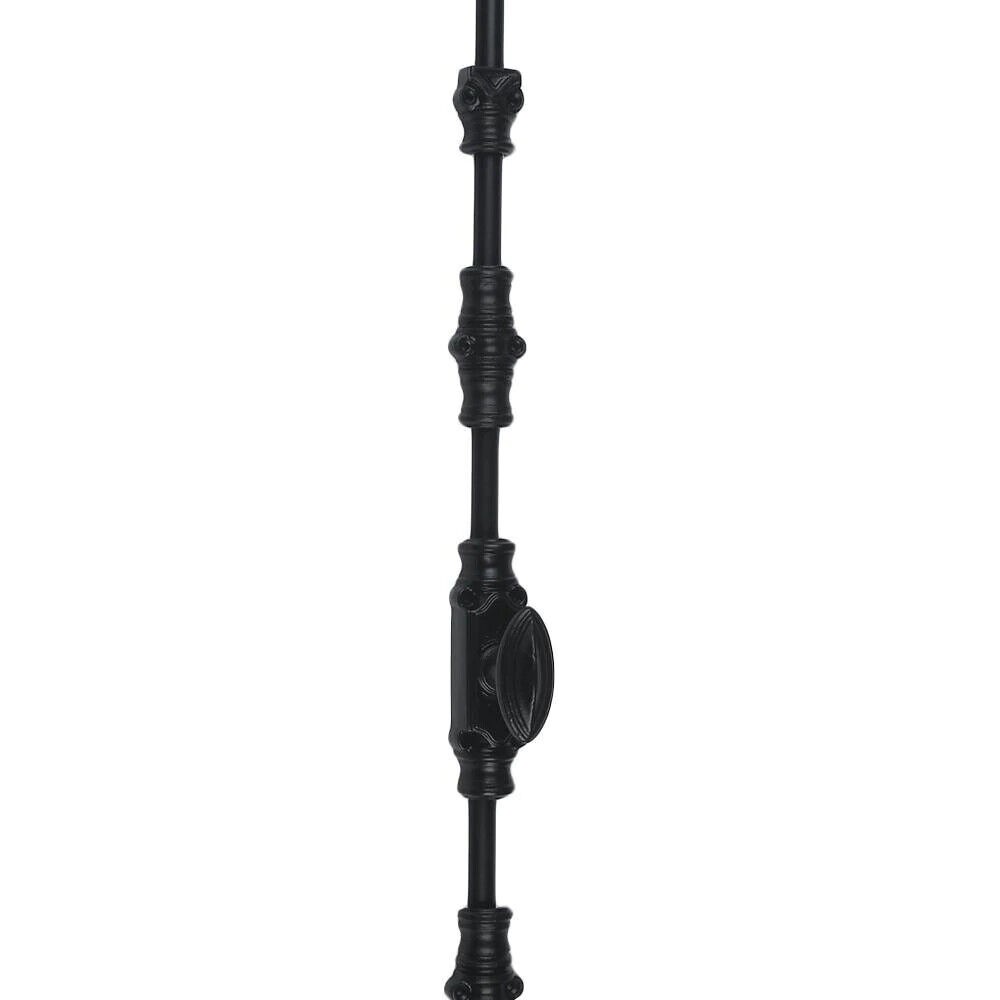
We have re-cycled some brass hinges from an old door. Plus, we have also splashed out on some cast iron cremone locks. They were on special offer and although not cheap, it’s a shame they didn’t have more as we love them.

Whilst on Youtube, don’t forget to Like and Subscribe.
@ourfrenchrenovation